
 Hi everyone! It’s Pam from Leaves and Stitches. Have you started decorating for Easter yet? I have to admit, my house is a complete mishmash right now. I still have a winter wreath on the front door, Valentine's day runner on my dining room table, a few Easter decorations scattered around and I've been working on a couple little projects for St. Patrick's day. When Easter falls this early in the spring, it gets a little confusing!
Having said that, my favorite recent projects is this set of Easter pillow covers. They're so bright and cheerful! I'm sharing the tutorial for the Easter Egg version below. If you'd like to make the coordinating bunny butt (as my son calls it) version, head on over to this post for the pattern.

Ready? Let's get started!
Materials:
- ½ yard of fabric for the main pillow cover
- Scrap fabric for the egg and zig zag design
- 8 5/8” buttons for decoration
- 3 1” buttons for the closure on the back
- One package of coordinating piping
- Steam-a-Seam II or similar double sided iron-on adhesive, or adhesive basting spray
- One 16” pillow form
- Patterns for the egg and zig zags (download here)
Fold the pillow front in half and finger press to mark a
center line.
Trace the egg and zig zag shapes onto one side of the
iron-on adhesive and apply to your fabric scraps following the manufacturer’s
instructions. (If you’re using spray adhesive, you can trace the shapes
directly onto the wrong side of the fabric.)
Cut out the shapes. Fold the egg shape in half and finger press to mark a center line. Line up this line with the line on the pillow front and adhere in place.
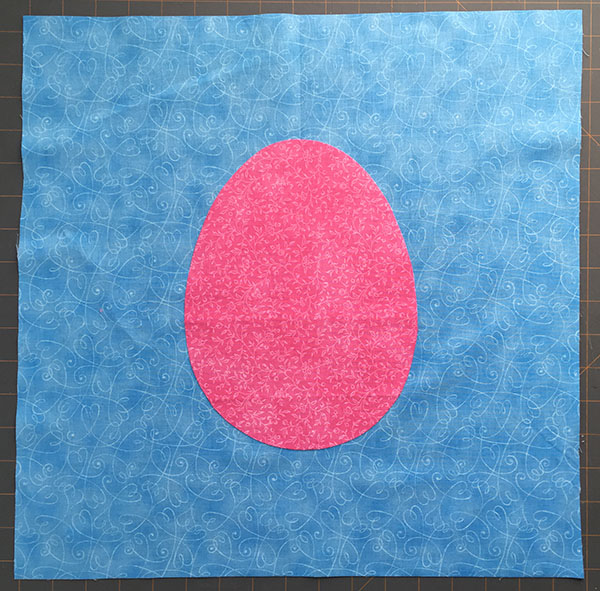
Set your sewing machine for a short, narrow zig zag stitch and sew all the way around the edge of the egg shape with matching thread.
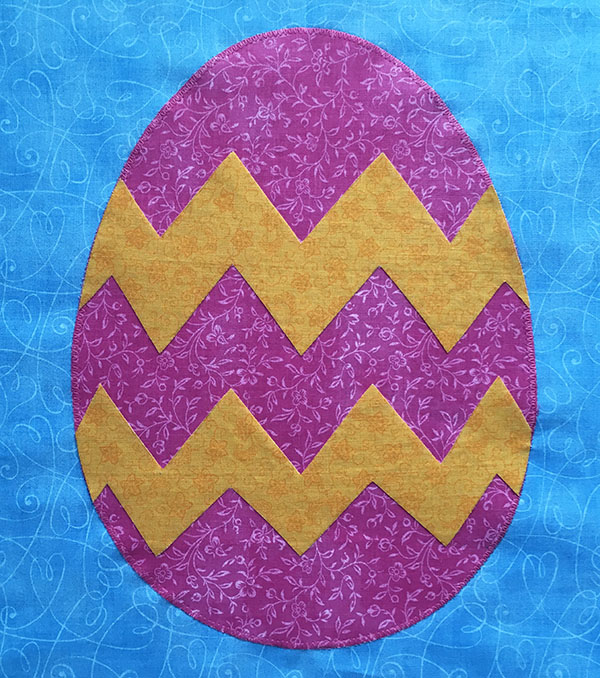
Apply the zig zag shapes to the egg and adhere in place. Using the same short, narrow zig zag stitch, sew all the way around both pieces with matching thread.
 |
Add buttons for decoration and hand stitch in place.
Next, we’re going to shape the corners of the pillow cover. This helps avoid pointy corners when you put the finished cover on the pillow form. Don’t worry, they’ll look square!

Lay the pillow front on your work surface. Measure in ½” from the top and side on each corner and make a small mark.
Fold the pillow front in half horizontally and mark the center at each edge. Fold in half vertically and mark the center at each edge.
Using a ruler, draw a line from each center mark to the corners.
Trim the pillow cover along the marked lines. Set the pillow top aside.
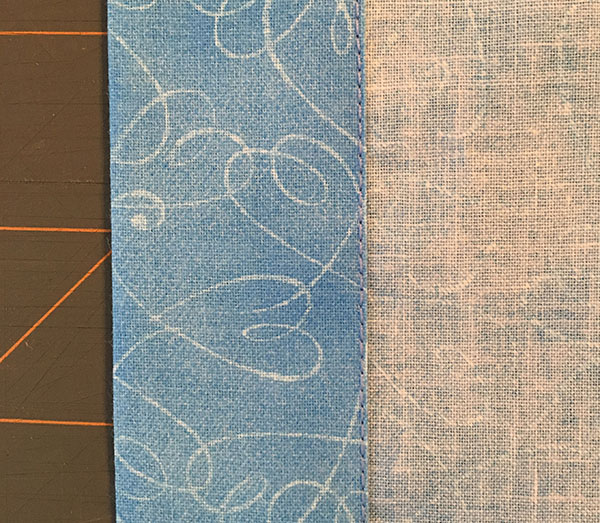
Grab the two back pieces and fold under a 1-1/2” hem along one long side of each piece. Fold again to create a double hem and press. Topstitch close to the edge. Set one back piece aside.
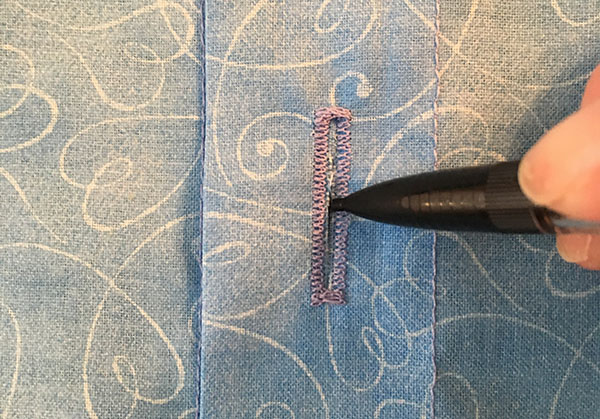
Make three buttonholes on the other back piece (one in the center, and one 4” from each end).

Clip the buttonholes open. Lay the other backing piece on your work surface right side up, and lay the buttonhole piece on top (also right side up), using the topstitching as a guide to line up the pieces.
Use a pencil to mark through the center of each buttonhole to indicate the button placement.
Set the buttonhole piece aside and sew buttons into place over the center marks.
Button the two pieces together and lay them right side up on your work surface. Center the pillow front on top, right side down, and shape the corners of the pillow back by trimming it to match the pillow front.
Sandwich the piping in between the two pillow cover pieces and pin or clip into place. (I LOVE my Clover Wonder Clips for basting pipings and bindings. No more stabbed fingers! Seriously, get yourself a set. They rock.)
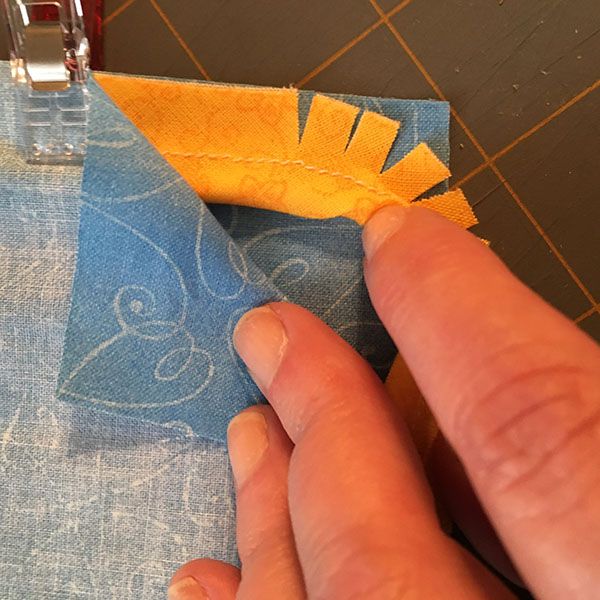
To ease the piping around the curves, clip the fabric close to the stitching line to allow it to stretch. Be careful not to clip the stitches!
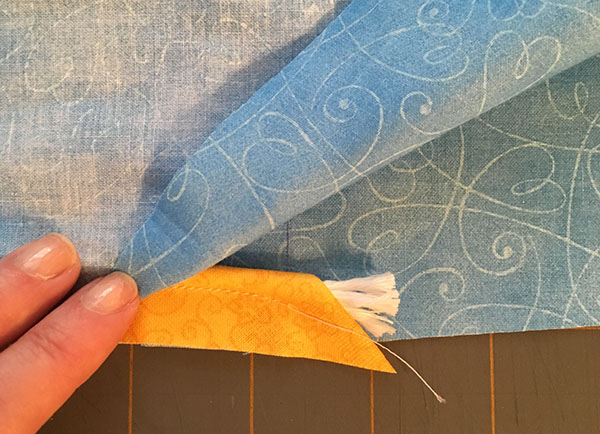
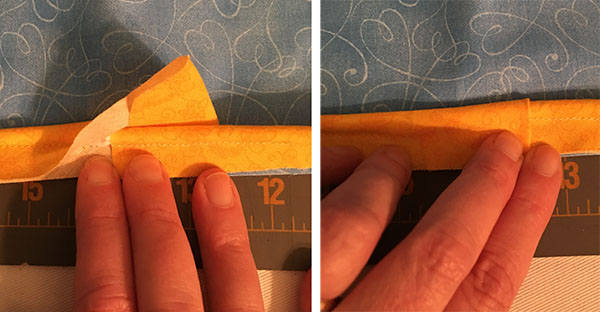
When you get back around to the point where you started pinning the piping, cut the ends so they overlap by about 2". Open up the seam on one end and clip the piping cord (but not the fabric) back until the two ends just meet. Turn under the raw edge of the fabric and wrap it around the starting end of the piping to enclose all the raw ends.
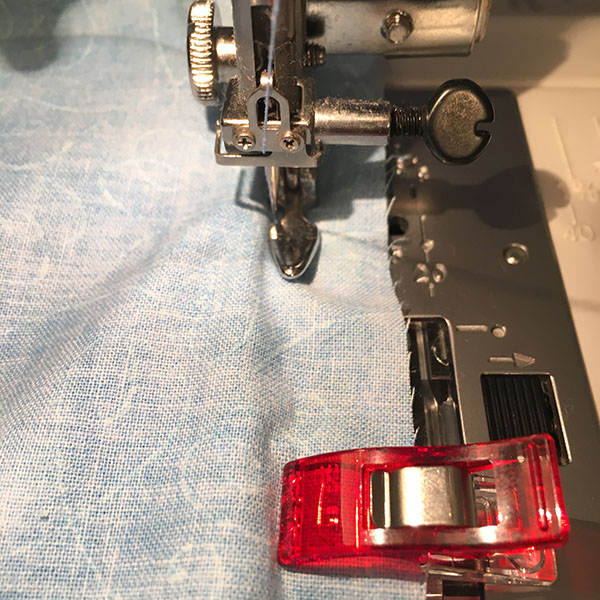
Stitch all the way around the pillow, as close to the piping as possible.
Turn the pillow cover right side out and insert the pillow form. All done!
If you'd like the pattern and instructions for the bunny version, you can find them in today's post on my blog.


