


However.. when I saw these burlap stars show up on my Facebook page, I KNEW I had to knock them off.

There wasn’t much to them, and for $30 I could make a whole galaxy of stars. What better excuse to drag out my Silhouette? (Oh, who am I kidding.. it never leaves the dining room table..)
Yes I am obsessed with my Silhouette and no, they don't pay me to say that!

To make them I first cut strips of burlap. However wide you want your star, your strip needs to approximate HALF that wide. The wider the strips are the longer they have to be (My really large stars actually required two strips).
The ratio of length is about 1:6 (so 10 inch wide strips should be 60 inches long and will result in a 20 inch wide star.)
Next I had to make stencils. I used dollar store contact paper and cut out stars with my Silhouette:
 Sure, you could use vinyl, but contact paper is cheaper, and cuts just as well. This is the EXACT stuff I use. (I know it is hard to see in the photo above but if you look close you can see the stars.)
If you have a silhouette and have never tried contact paper/shelf liner, you should. Just use the same settings you would for vinyl and then reduce the pressure 1-2 notches.
It is much easier to see my stencils once they are actually on the burlap:

I also I used some of my favorite Frog Tape Shape Tape (the same stuff I used on my curtains) to make large waves.

I used regular old craft paint and colored in the strips:

And the stars..

At this point I was so delighted with the look I almost stopped and called it a ‘table runner’ but then I decided I needed to keep my eyes on the prize. (I am seriously going to whip up a table runner like this though.. it was just so cute!)

Next you have to form the stars. They key to keeping the folds in place is spray starch (the stiffer the better.) Just follow the bottle’s instructions (but usually it is something like ‘spray the fabric and allow to dry slightly before ironing’)

Just make sure you paint is dry before spraying with the starch or you will end up with a sticky mess!
 Fold and press the burlap like a fan.
I made the folds about an inch wide. The pottery barn version had wider folds, but I liked the look of more folds.
Once you are done you want to fan out the strip into a circle and glue the two short ends together:

To keep the center from opening up, put a big glob of glue in the center (Yes, you will need LOTS of glue.)

I actually glued from the front and the back and even faced the ends of each fold together with a dot of glue.

At this point you want to lay out all your stars and let them dry. The spray starch and the hot glue need to really set for them to maintain their shape before you hang them vertically.
You also can core up the unfinished centers with a small circle of burlap (I didn’t think the centers of mine were terrible looking, but in order to make them look more like the Pottery Barn original I decided to add the circles):

I think it is a pretty good replica:

Once they are dry, you can glue on a string in order to hang them. I used twine like on my burlap banner.


Want to Check Out More Silhouette Projects?
My Silhouette Challenge buddies and I are all sharing projects on our blogs today, so peruse the projects below for a wealth of Silhouette inspiration!
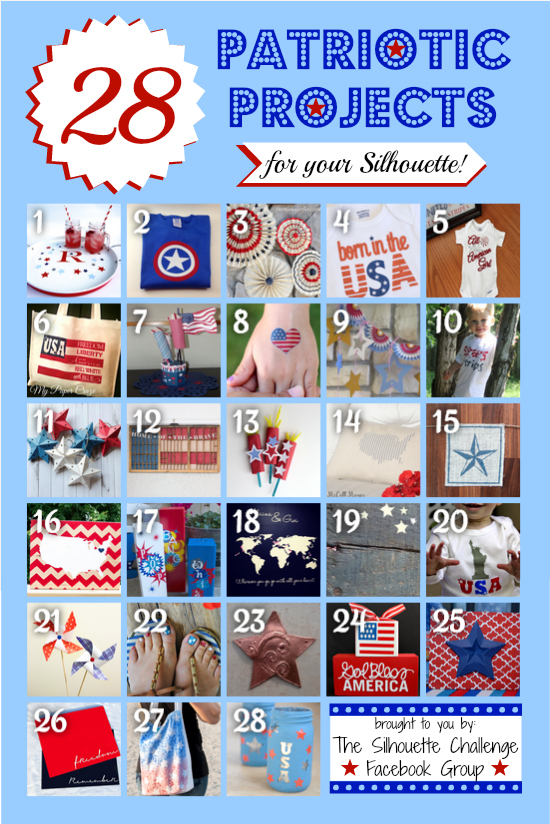
1. Our Rosey Life // 2. My Mom Made That // 3. The Kim Six Fix // 4. Create & Babble // 5. The Frill of Life // 6. My Paper Craze // 7. Kate's Paper Creations // 8. Simply Kelly Designs // 9. Dragonfly & Lily Pads // 10. Mama Sonshine // 11. Lil Mrs. Tori // 12. Tried & True // 13. It Happens in a Blink // 14. McCall Manor // 15. The Thinking Closet // 16. unOriginal Mom // 17. Sowdering About // 18. Weekend Craft // 19. The Outlandish Momma // 20. Adventures in All Things Food // 21. Practically Functional // 22. Silhouette School // 23. Please Excuse My Craftermath... // 24. Ginger Snap Craft // 25. Pineapples And Pinecones // 26. Black and White Obsession // 27. TitiCrafty // 28. Architecture of a Mom //
Sharing at these parties.


