How is it possible that Mother’s Day is this weekend?? I
feel like we just got done with snow. I know we had Easter in there somewhere
but time is whipping by at an alarming rate lately.
I wanted to make a little something in honor of all the
awesome Mamas out there, and since I am also an awesome (but crazy busy) Mama,
I wanted a quick project.
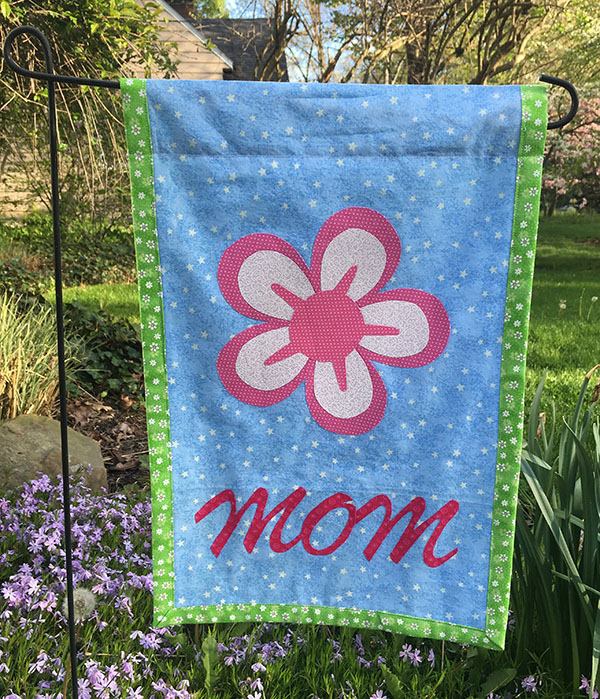
And here it is:
A cute little garden flag. Just a few pieces to cut out,
just a few seams to sew, done in an evening. Perfect!
To make one, you’ll need:
-
3/8 yard fabric for the flag
-
scrap fabric for the flower and “Mom” script
-
scrap fabric for the binding (at least 20” long
to avoid having a lot of seams. A fat quarter is perfect.)
-
EZ Steam or similar double-sided iron-on fabric
adhesive
Cut a 12-1/2” x 21-1/2” rectangle from the flag fabric.
Fold down one short edge of the flag fabric and press.
Measure down 4” from the folded edge you just created and draw a line across
the fabric on the wrong side.
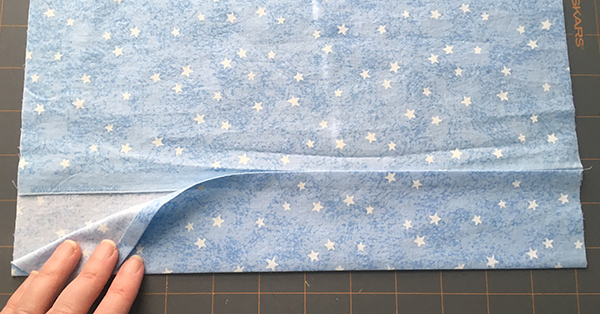
Fold the other short edge of the flag fabric up (wrong sides
together) and line it up with the line you just drew. From here on out, the
longer side of the folded piece is the front of the flag, and the shorter side
is the back. The long edge will get folded to the back later in the assembly process to create the sleeve for your flag holder. Like this:
Download the pattern for the flower pieces and “Mom” script
and print them out at 100%.
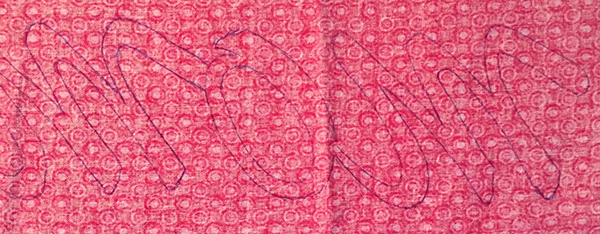
Trace the patterns onto your fabric adhesive and apply it to
the wrong side of your fabric adhesive following the manufacturer’s instructions.
(My fabric adhesive had a shiny paper backing that was hard
to draw on, so I traced my patterns on the wrong side of the fabric and then
stuck the fabric adhesive on. I could see the traced lines through the
remaining paper layer of the adhesive.)
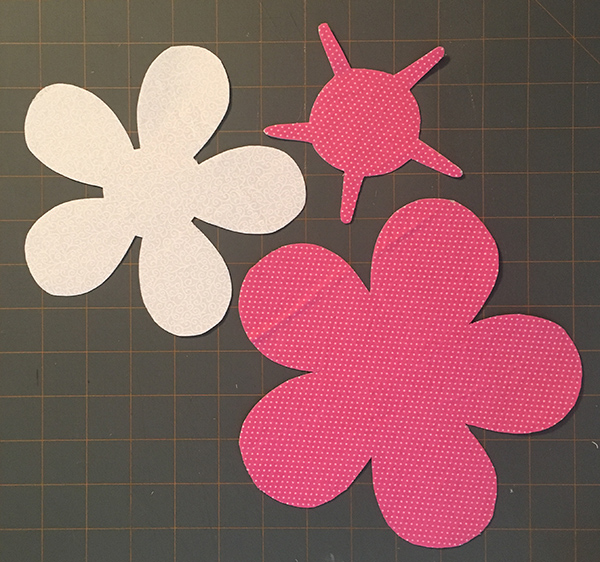
Cut out all the pieces. The script can be fiddly to cut. I
used really sharp embroidery scissors and went veeeery slowly. I connected my
letters so they made one continuous piece rather than three separate letters,
like cursive.
With the flag right side up, measure up 2” from the bottom
fold and center the “Mom” script on this line.
Layer the flower pieces together and center them above the
script. On mine, the outer flower is 2-1/4” from each edge.
Iron all the pieces in place following the manufacturer’s
instructions. At this point, you could zig zag or satin stitch around all the
pieces with matching thread to make them more secure. I don’t plan to use my
flag outside for more than a few days, so I didn’t bother with this step.
Cut 3” strips from the fabric you’re going to use for your
binding. Fold each strip in half, right sides together and matching the long
sides. Press to mark a center line. Open the strips up and fold each of the
long raw edges to the center, and press again. Fold the whole thing in half
along the original center line and press one more time. You should have long
narrow strips with all the raw edges folded to the center.
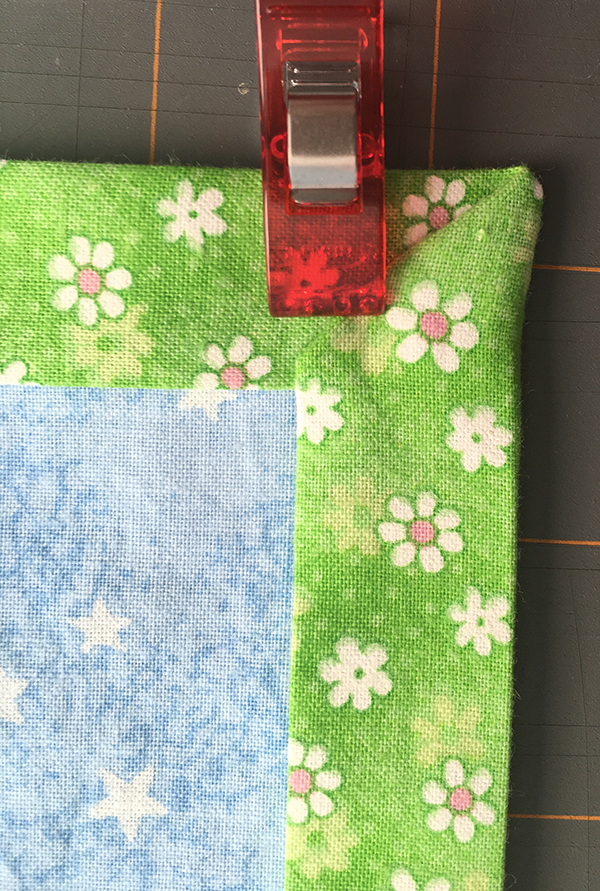
Fold down the short edge of one strip ½”. Starting at the
top of the flag, slide the edge of the flag into the binding, making sure the
raw edge of the flag is sandwiched in between and pushed all the way to the
center fold of the binding.
Pin the binding down one side, across the bottom and back up
the other side, and fold the raw edge of the binding under at the top.
Stitch around the binding 1/8” from the edge.
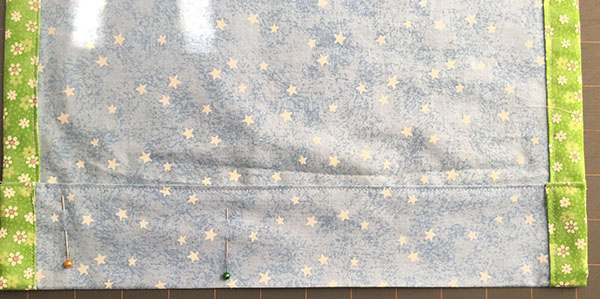
Lay the flag on your work table with the back facing up.
Fold the top edge down until it covers the raw edge of the back by about 1/4" and pin in
place.
Sew close to the ¼” hem edge to create a pocket for your
flag hanger to go through.
Admire your work!

