


In order to determine where exactly I needed to mount the hardware on the wall, I marked each bracket with chalk:

I pressed the baskets against the wall where I wanted them to hang, and the location of the brackets was marked:

Remove the bracket from the basket in order to attach it to the wall.**
Since I knew I wouldn't hit a stud when mounting the brackets, I decided to use small drywall anchors to secure the screws in the drywall. To use them you first much punch a small hole in the drywall (I use a phillips head screwdriver):

Then drive the anchors into the hole using a hammer:

Once they are flush to the wall, you drive your screw into them and they expand slightly within the drywall which prevents the screw from pulling out.

I used only 1 anchor per bracket. In the other hole I used a plain screw just to keep the bracket from rotating.

**VERY IMPORTANT TIP: When removing the brackets from the basket to mount them to the wall, DO NOT REMOVE THE BOLT!! You want the bolt to stay inside the hole you made in the basket. Dont' take it in or out or you could damage the basket. Plus it is already aligned to the bracket you just attached to the wall.. You should be able to set the basket down on the brackets and slide the bolt through the hole without having to adjust it much. If you remove the bolt, you will be trying to find the hole in the L bracket blind.
Reattach the basket to the bracket by setting the basket on the brackets and replacing the nut:

At this point your basket shelves will probably look like this:

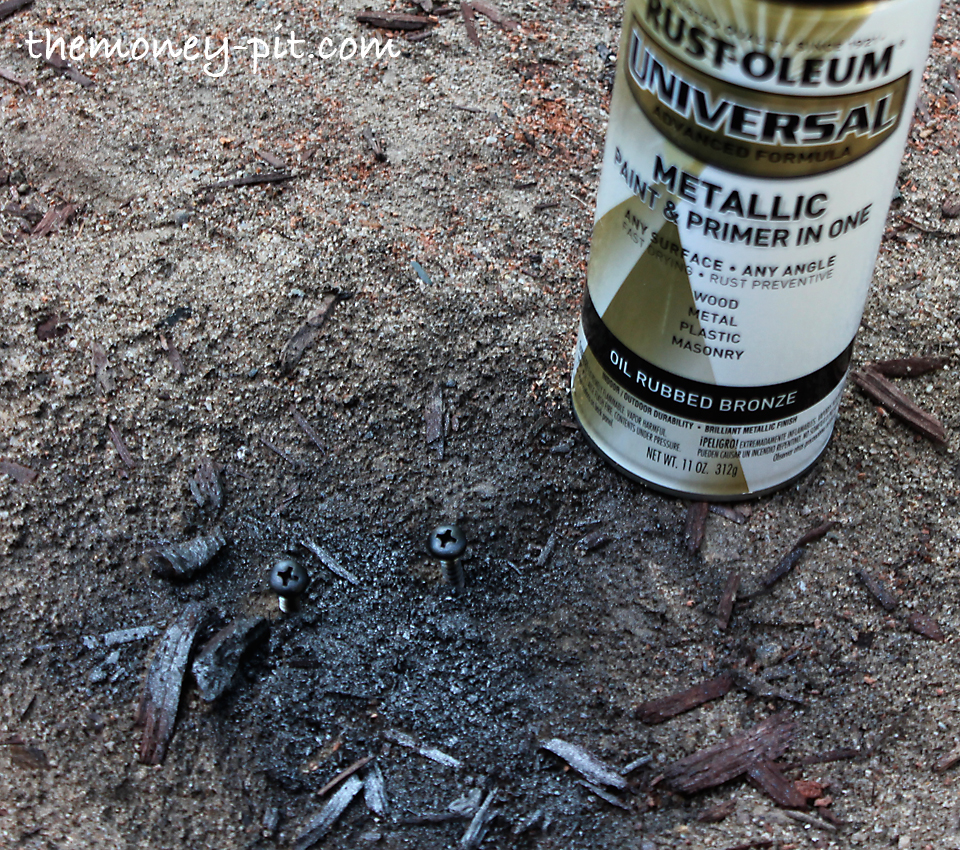
You need to make sure the tops of the baskets are pressed flush to the wall. I used 2 screws for each basket and drove them though the basket and into the drywall. In order to disguise the screw head I first painted them to match the basket color:
Once the shelf has items on it, the screw will barely be visible:

Since most of the weight is against the bottom of the basket and not away from the wall, you don't have to worry as much about these screws tearing thought the basket.
And there you have it! Load up your basket shelves and you are all done!

You wouldn't want to put too much weight onto them, but the baskets I chose support 10-15 pounds without any trouble.

Keep checking back to see how these new little shelves look in my new powder room! It is only the tip of the iceberg!


