Don’t you love it when a hare-brained idea just happens to work out? You know what I mean: you get that vision in your head and you aren’t sure it is going to work, but when it does, it is AWESOME! Well, that is how I feel about the simple project I’m sharing today: These
Plexiglass and Sheet Metal DIY Floating Frames.
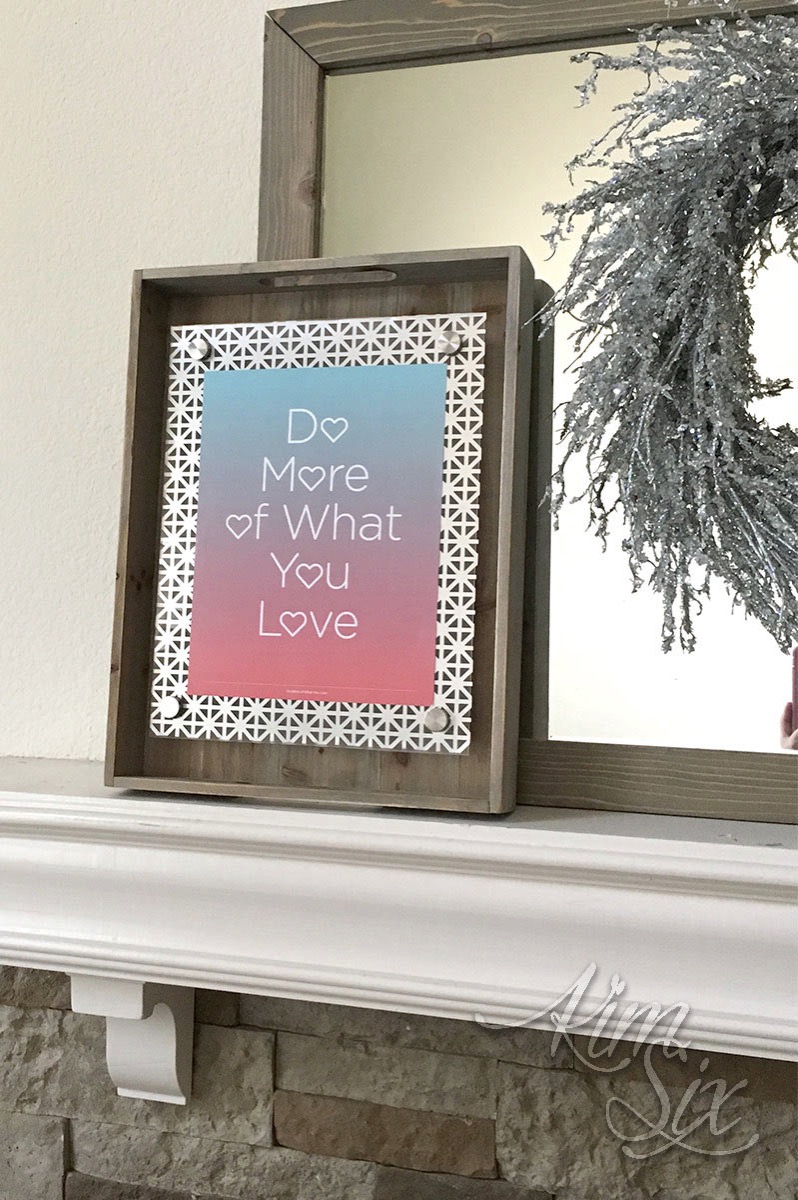
I have always wanted to make some floating frames, but I didn’t want them to be completely transparent, I wanted them to have some sort of detail, and that is exactly what I got by adding a sheet of perforated sheet metal to the mix.

I love that you still get that district “framed” feel to your art, but it is still transparent, so you can see the wall color behind it, and you still get the floating frame vibe.

Of course, a plain sheet metal and plexiglass floating frame is can be quite industrial looking, so to soften it up more for my aesthetic, I mounted one inside of an old wooden mail tray I had, and I suddenly had the perfect yin and yang of industrial and rustic.

And once the frame was mounted inside of the tray, I no longer needed a way to display it. DESKTOP FLOATING FRAMES! I love it! I am pretty sure I’m going to find a home for them in my sewing room.

I am so thrilled with just how great this project turned out, especially for as easy as it was.
DIY Floating Frames Supply List:
- 11x14 Sheet of plexiglass or framing plastic
I purchased anti-glare plaskolite sheets from Home Depot, but there are lots of options available online, including thicker, less flexible plexiglass sheets.
-
30 mm Standoff Hardware
-
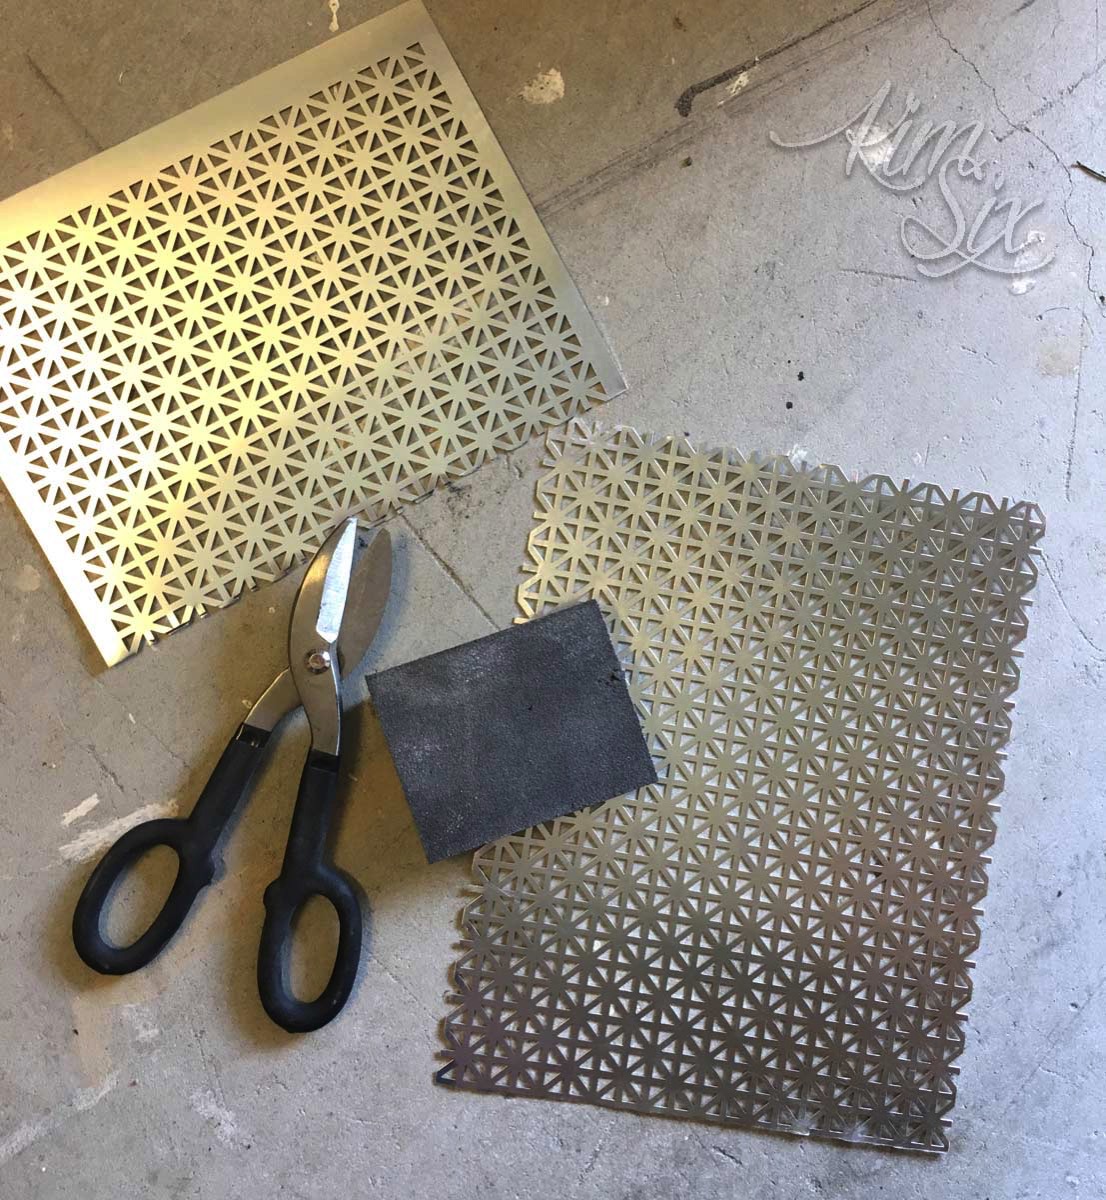
M-D Perforated Metal Sheets (12x24)M-D Hobby & Craft have a bajillion designs and metal choices. I used the the Aluminum Union Jack pattern for this since it matched the chrome finish of the standoff hardware. The 12 inch sheets are EXACTLY 11 inches wide when you cut off the border, which is perfect for the 11x14 sheet of plexiglass.
-Craft Tin Snips You may also want to wear leather gloves since the cut metal can be sharp.
-
Course Sanding Block
- Drill or Drill Press
-
3/8th inch Forstner bit
-Artwork to display (if you need ideas, I have TONS of
printables that would be perfect!)
-Wall Mounting hardware
The standoff hardware is designed to be hung on the wall with screws. But I actually hung mine with heavy duty mounting squares so it could be
permanent or
removable.
 Tutorial:
I first cut down the aluminum sheet to the exact size of the 11x14 sheet of plexiglass, and I used my sanding block to smooth off the sharp cut edges. (The aluminum is pretty thin and will bend, so make sure you support the metal on a flat surface and only sand the very edge.)
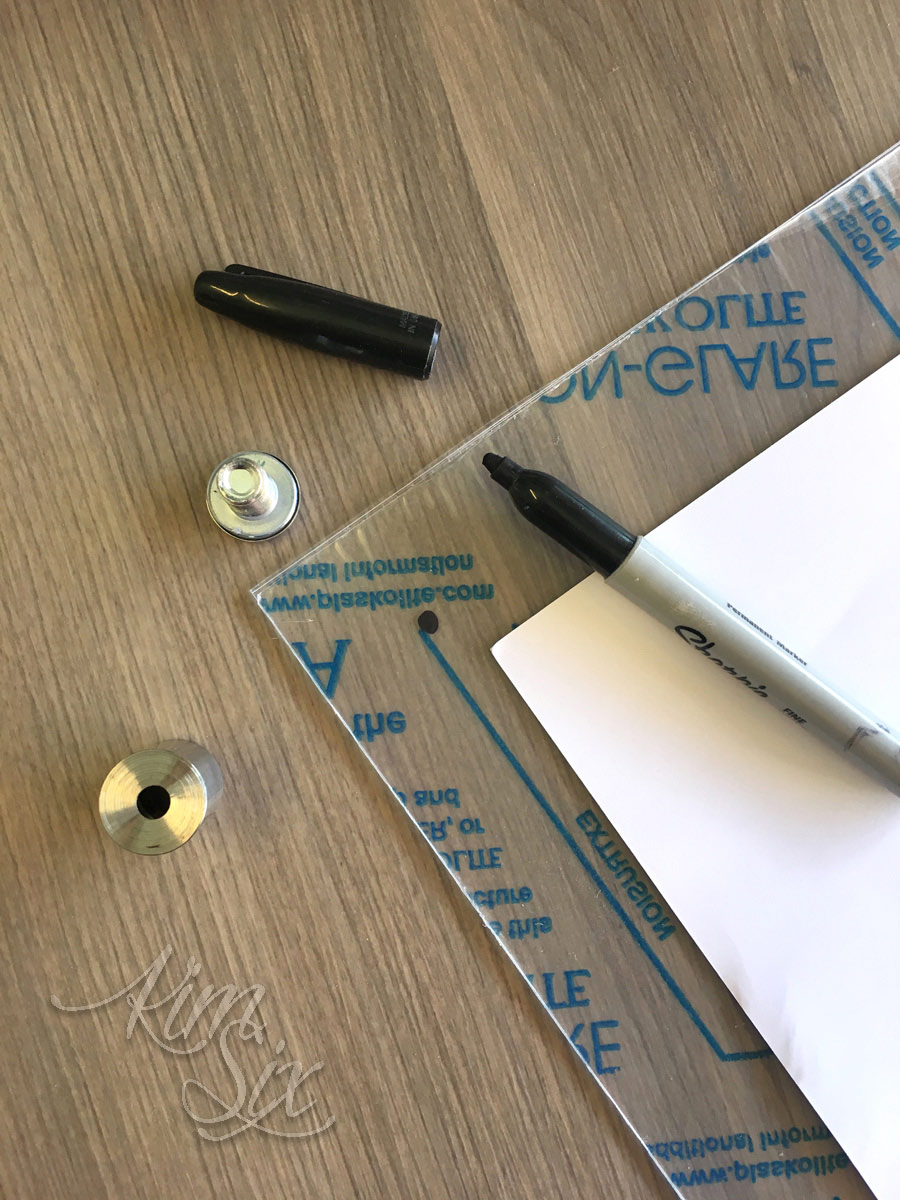
Next I marked where I wanted my four standoffs (the hardware that holds the frame away from the wall) would be placed on my plexiglass sheet (make sure to leave enough room for your artwork in the middle!)
Tip: Don’t remove the protective sheet from the plexiglass until the VERY LAST STEP.
Carefully supporting the plexiglass on a piece of scrap wood (otherwise it will bend and crack) drill through it on your four marks.
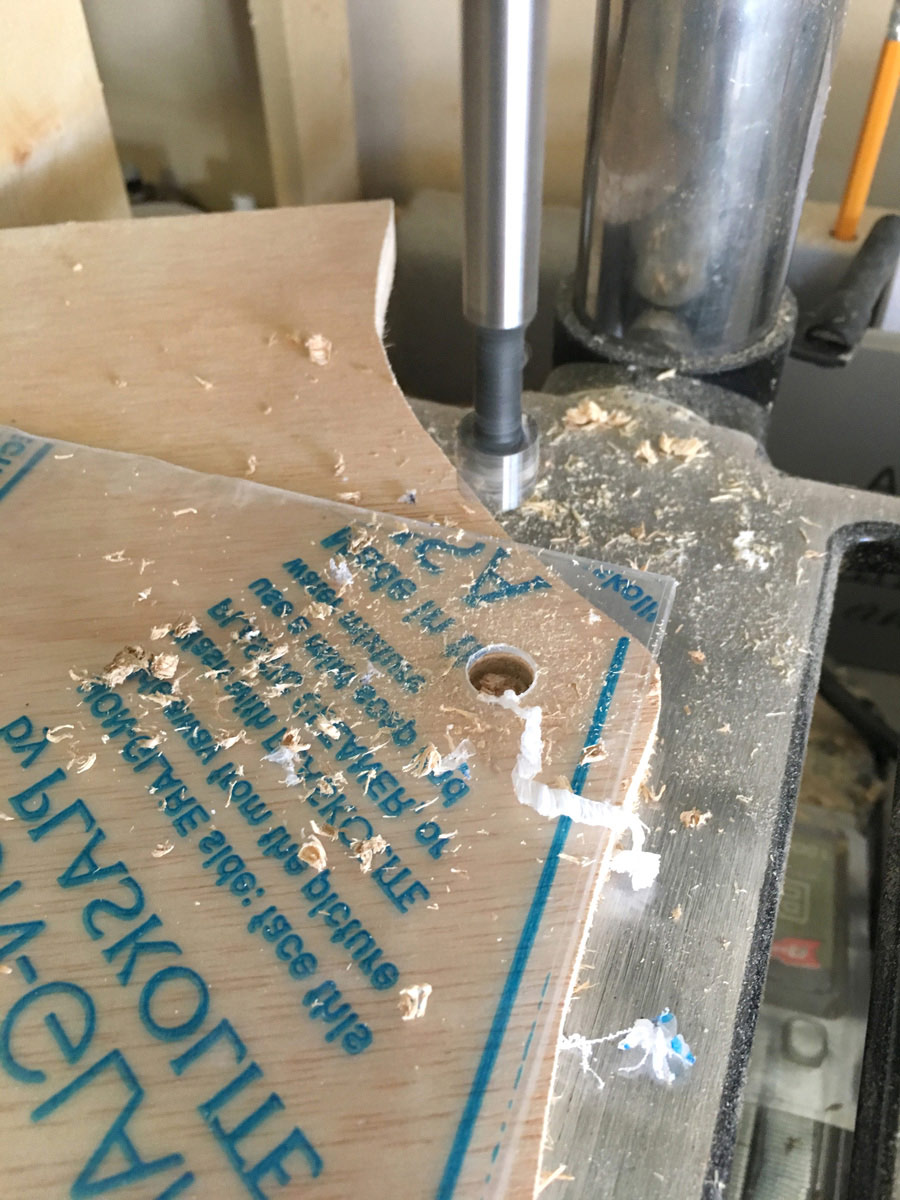
I drilled the plexiglass first and then used it those four holes as my template to drill through the metal. I used clamps to keep the plastic and the metal sheet lined up exactly. The plastic helps hold the aluminum down.
The sheet metal wants to kick out since the drill bit doesn’t catch evenly, so be really careful on this step.
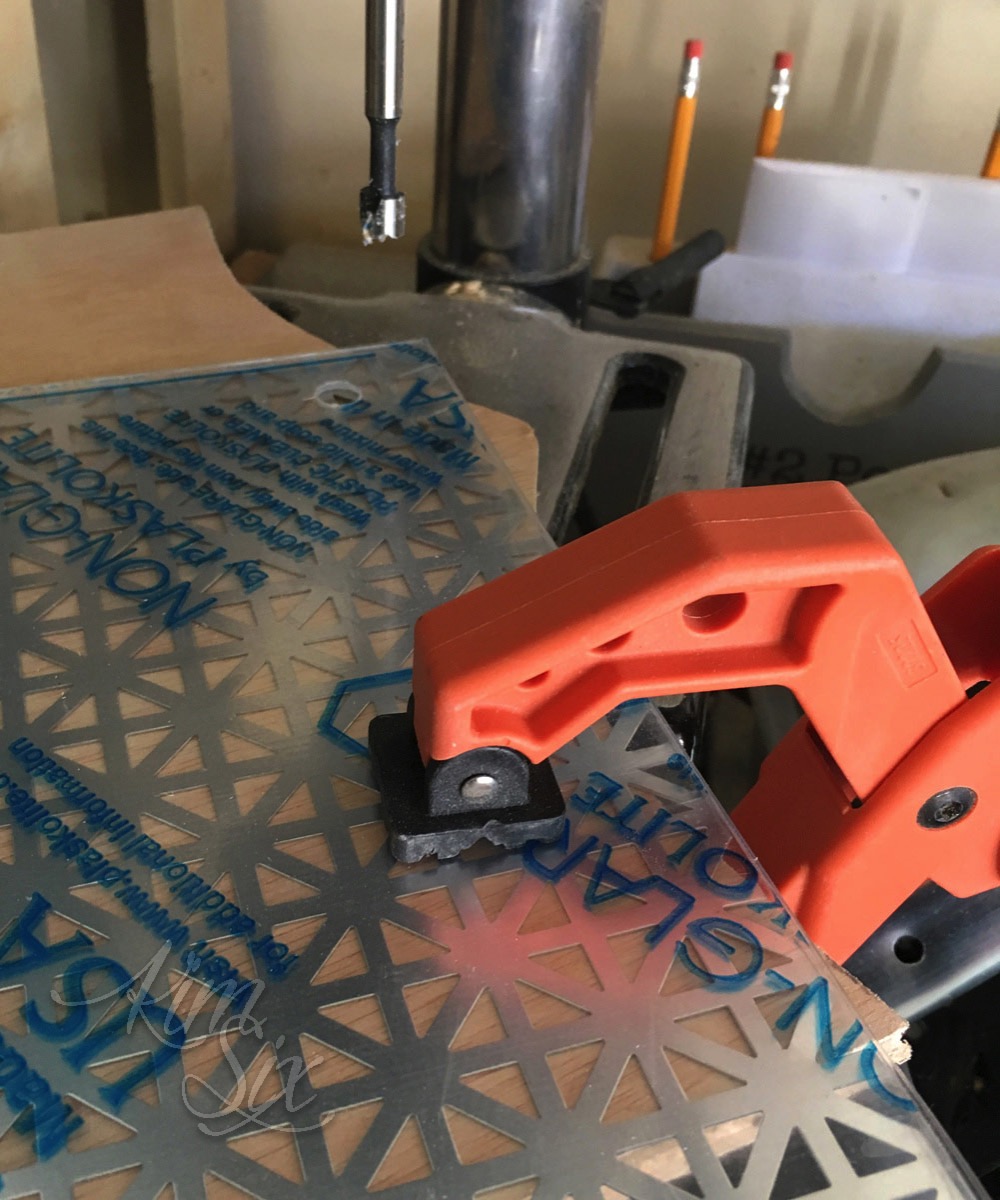
If you are really daring you could sandwich both the metal and plexiglass and drill through them both at the same time.
Luckily if the hole is a little ugly it won’t matter, there is a decent amount of overhand with the mounting hardware to cover up any rough edges.
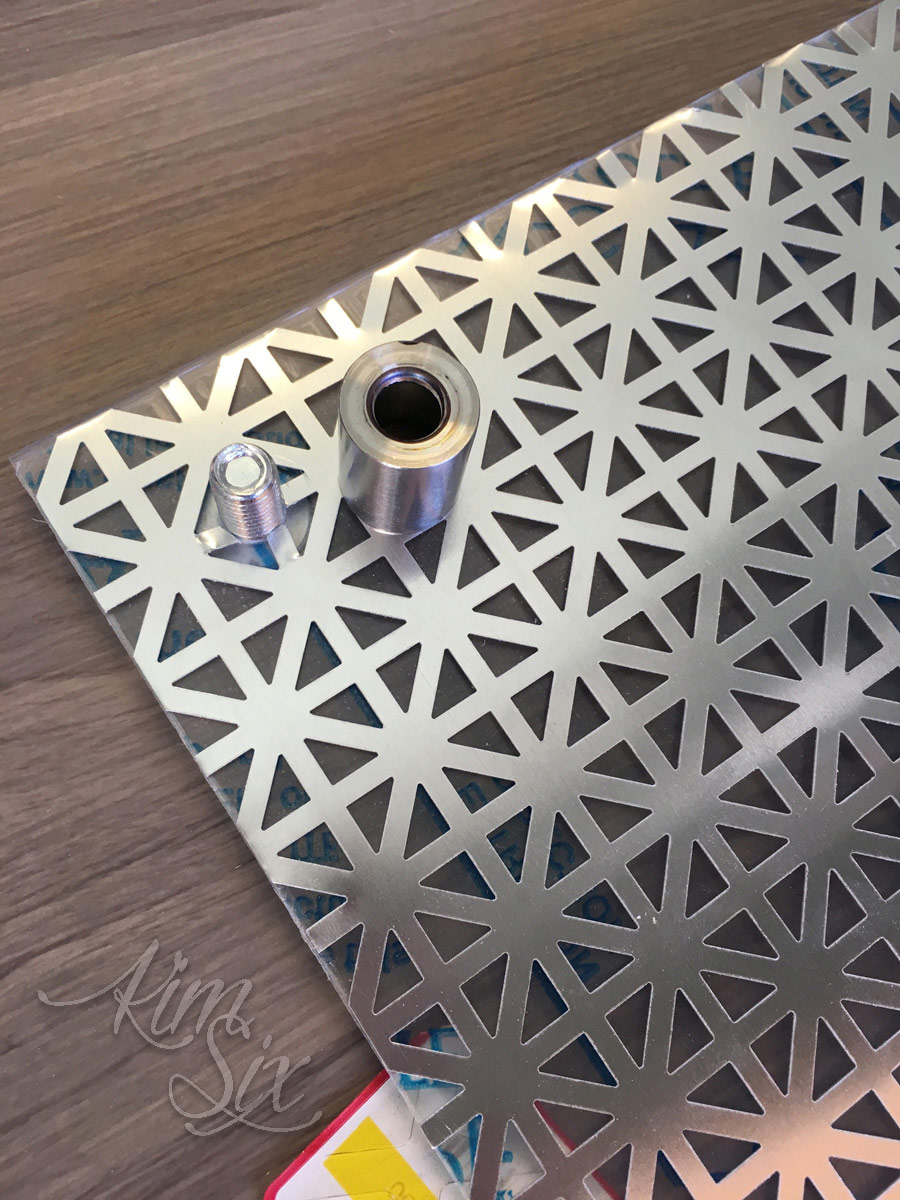
Now it is time to sandwich your metal sheet, your artwork and the plexiglass and then push the screws on the standoffs through.

Tip: If you are mounting on the wall with screws, I would put all the hardware ON your artwork, put them up on the all, mark where each screw will go and then take them apart to attach them. Dont’ try to mount the hardware to the wall first and then line it up with your artwork.
I even tried mounting mine inside a wooden tray, and I loved it so much!

The whole process only took me about 20 minutes and it looks a lot more complicated than that. Don’t you love it when that happens?
This project was part of this month’s Power Tool Challenge, featuring these other amazing bloggers and their projects. Don’t miss THIS COLLECTION OF OTHER FRAMES AND ARTWORK DISPLAY IDEAS:


 Recently my daughter was invited to a Harry Potter themed sleep over birthday and wanted a fun bag to bring her stuff. I’ve been working on a cross stitch design featuring all the Harry Potter icons and knew it would be easy to convert the original file into an SVG and that is exactly what I did!


 This year’s hot summer trend looks to be pineapples. They are popping up everywhere, from


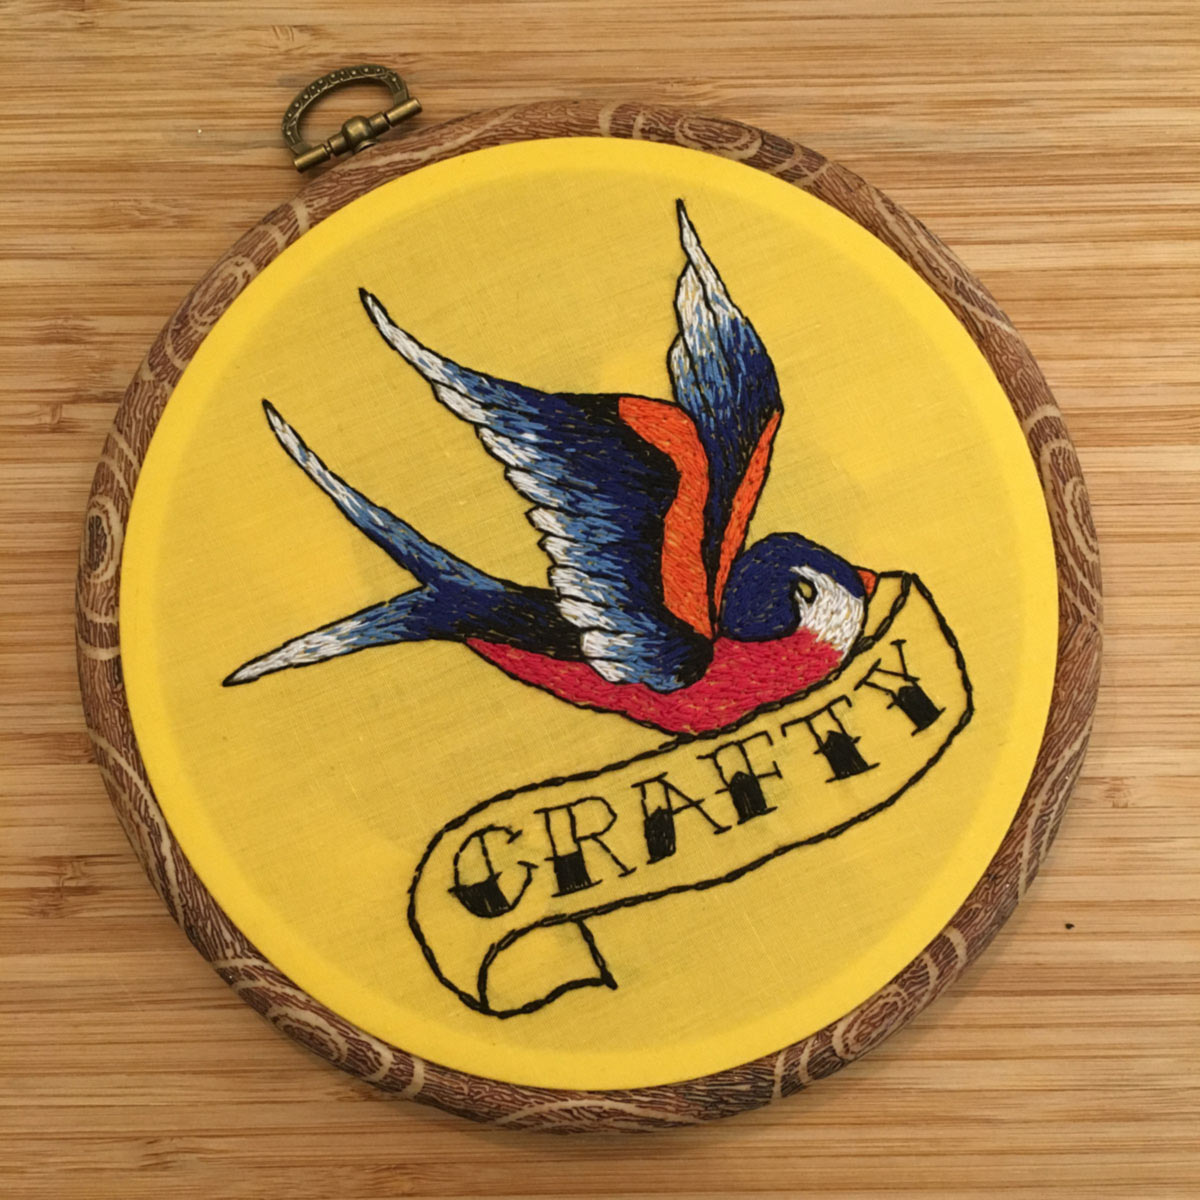

 Instead I figured out a way to combine my two loves. A little plywood and some power tools along with the joy of stabbing something over and over.