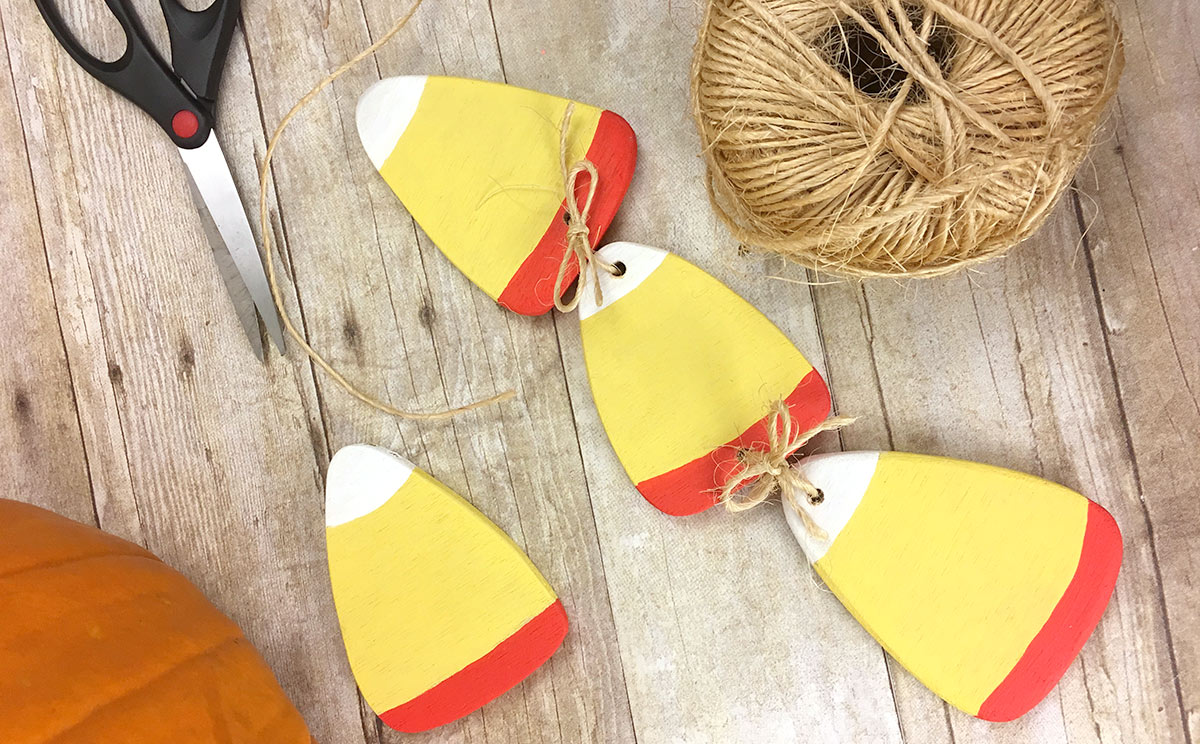
It is always fun to get into the woodshop and create some super fast and easy seasonal projects. For this upcoming halloween I was looking for a project idea that I could use in place of a regular old wreath on the front door.
These oversized plywood candy corn cutouts are a great project since the cut lines are so simple and you can make a whole bunch in no time.
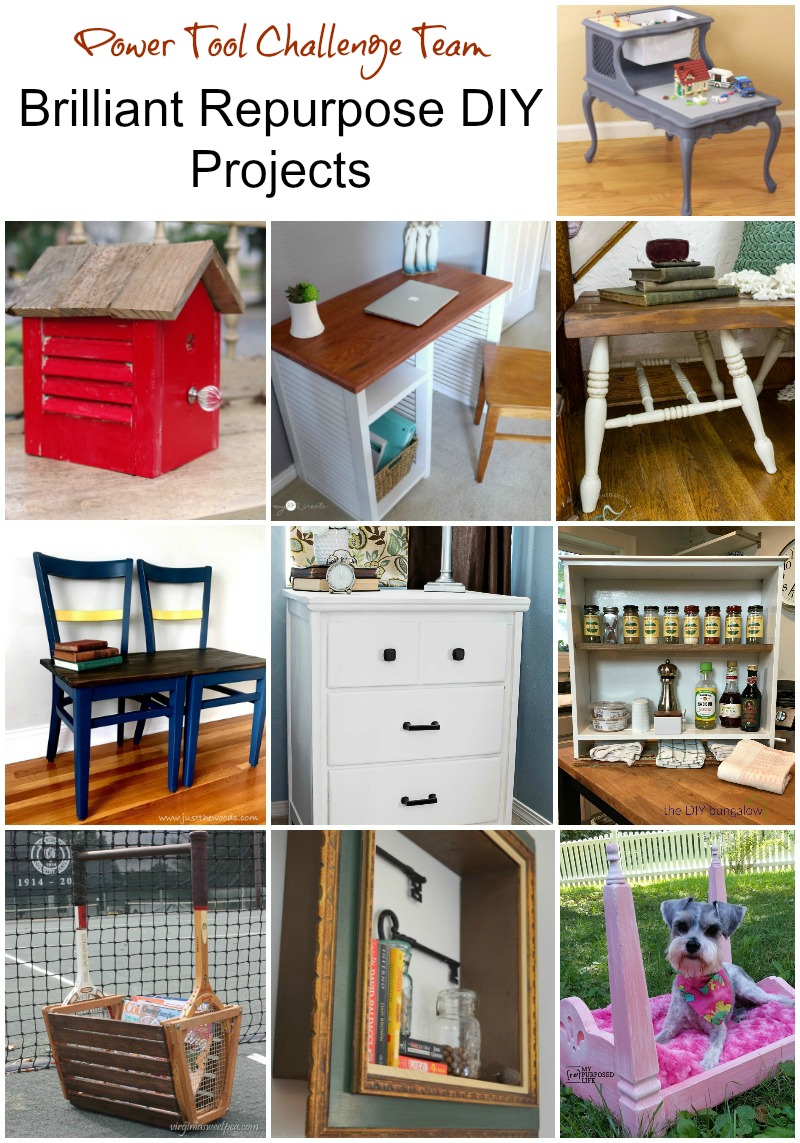
I’m so excited about this project, not only because my kids love it, but also because it is part of this month’s power tool challenge. The theme is REPURPOSE this month.
My entry is this end table repurposed into a LEGO play center. The plastic bin which houses the legos pops out for easy clean up and the little drawer in the table is the perfect place to store building instructions. Everything in arm’s reach for the best experience!
For more inspiration, the ladies of the Power Tool Challenge also have some awesome entries:
So how did my project come together? Well, it started with this 10$ thrift store find.
And turned into this all in one play center.
The lower level features a large 15x15 LEGO plate building area. While the user level has a smaller play area, perfect for holding mini figures or precious builds, along with a large pull out bin for loose legos. The drawer is the perfect place to keep all the instruction booklet.
Highly functional, self contained and compact. My kind of end table! To transform it, I first removed the faux leather inserts. I replaced them with plywood (I used the pieces that came out as a template for perfect fit:) Next I sanded the entire thing down. I used my Finish Max Ultra to paint this piece. IT was so fast and easy on all the curves. When the paint was dry I used E6000 to glue the plates down. And here is the finished piece:
Just add LEGOs and you won’t be able to pull your kids away!
I have been having great time sharing sarcastic and snarky crafts on my Facebook page and some of my favorites have been simple cross stitch patterns.
In order to keep track of all that sarcasm, I put together a list of my favorites, along with links to wear you can buy the patterns. (Some are not actually available for purchase.. but most are.) I have sorted them by JUST HOW OFFENSIVE they probably are. So if you don’t like swear words or other risqué topics, I wouldn’t scroll down!
However, if you have a smart ass sense of humor like I do, I bet you get at least ONE good chuckle from one of these! Check them out!
If you are looking for less offensive embroidery ideas, you may like these projects instead.
I have seen these cute tassel keychains and cell phone danglers popping up in local stores and online, so I wanted to show you just how easy it is to make your own. Embroidery Floss Tassels can be made in almost ANY color, since there are limitless types and colors of floss. Plus with the metallics and reflective polyester fibers you can get some gorgeous tassels.
For my version I used the Radiant Treasures floss, which is polyester and reflects the light beautifully. But you could also use standard Embroidery Floss or even the Light Effects/Metallic type which looks like spun metal. I made my tassels directly on jewelry Rings with claw clasps so they could be used as a keychain or zipper pull, but you could put them on standard rings if you wanted to use them in other ways.
You could also hand these tassels off a backpack or on a purse, or even use them in decorating. Make them in holiday colors and turn them into Christmas ornaments. They really are just that versatile.
Plus they come together in about 2 minutes. YES.. they are seriously that fast. I put together a video to show you exactly how quick they come together.
For those of you who prefer the step by steps with photos, keep reading!
Step 1:
Pull out approximately 24 inches of floss from the skein and set aside. Step 2:
Slide the sleeve of the skein down to one end but don’t remove it completely. Step 3:
Slide the ring over the sleeve on the skein. Step 4:
Slide the ring off the sleeve and into the center of the skein. You can remove the sleeve at this point. Step 5:
Fold the skein in half on the ring. You want to make sure you have lined up both ends, since that is the bottom of your soon to be tassel. Step 6:
Take the extra 24 inches of floss and wrap it around the very top of the tassel, just below the ring. You want to make it as tight as you can. Step 7:
Tie off with a square knot. Again, you would like this to be as tight as possible so the tassel doesn’t loosen up. Step 8:
Apply a tiny drop of super glue to the knot. This is to keep it from unwrapping, especially once you trim the ends. Allow to dry completely. Step 9:
Trim the ends of the knot. You can use a needle to push the knot up and under the wrapped thread to hide it. Step 10:
Cut the loops apart, making sure you have them as even as possible. Step 11:
Hold the loose ends in a closed fist and cut them off even with a sharp scissors.
This will make a little bit of a mess.
Now you just need to fluff the tassel and separate the floss into it’s individual threads. This gives it fullness and makes it look really expensive.
This is such a fast and easy project, that looks a lot more complicated than it really is. You could make a bunch of tassels in no time!
When my oldest daughter turned eight (a few years ago now) we needed a quick and easy favor to bring to school for her classmates. I originally got the idea for a little "8" made out of donuts from Kendra of Me and My Insanity. We didn't want an entire party with an 'Eight is Great!' theme, but the favors were perfect.
They say there are only two sure things in life: Death and Taxes, but I disagree. In our house there are at least two more sure things: Love and Laundry.
If you have children in your household, you know the struggle that is laundry day. It seems as though once you get through one load of laundry, the next is already sitting there waiting to be washed. In our house, the clean clothes don’t make it out of the laundry basket, let alone put away properly.
The summer after moving into our house, we immediately knew we had a problem with temperature regulation in the rooms on the front side of the building (which happen to be the kids’ bedrooms). During the heat of the day the sun would shine directly into the windows and because those rooms are located above the garage, they would heat up like an oven. No amount of air conditioning blasted into that space was going to keep those rooms cool.
We knew needed to do something to better insulate those front rooms and the first thing we thought of was replacing the windows.


 While the user level has a smaller play area, perfect for holding mini figures or precious builds, along with a large pull out bin for loose legos.
  The drawer is the perfect place to keep all the instruction booklet.
 To transform it, I first removed the faux leather inserts.

 I replaced them with plywood (I used the pieces that came out as a template for perfect fit:)
 Next I sanded the entire thing down.
 I used my Finish Max Ultra to paint this piece. IT was so fast and easy on all the curves.

 When the paint was dry I used E6000 to glue the plates down.
 And here is the finished piece:


 Step 6:
 Step 8:
 Step 9:
 Step 10:
 Step 11:


 We knew needed to do something to better insulate those front rooms and the first thing we thought of was replacing the windows.

