
And since I wanted the boards to be a completely DIY project, that also mean I would have to sew my own beanbags.
Creating bean bags isn’t actually that difficult, but there are some little tricks that can make it much easier and that will you give you much nicer, long lasting bean bags.
The first is your choice of fabric. I used woven polyester. I actually bought dress lining, which has a shiny sheen and is slightly slippery. Which make for great cornhole bean bags. It also has NO STRETCH so the bean bag shape will never distort. The fact it is polyester means you can wipe it down if it gets dirty (you won’t be washing bean bags and if you use cotton, they will develop grass stains much more easily.)
The other perk of using cheap dress linking is that it comes in a huge array of colors and only costs $2.99/yard. Since I needed only 5 inches to make 6 bean bags means it only cost me a whopping 46 cents for the material!
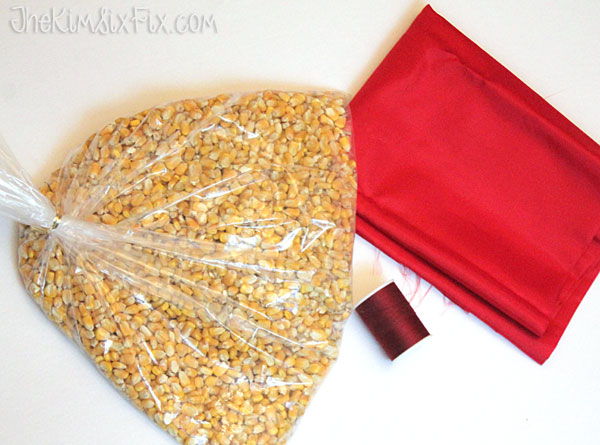
The other thing you need (besides thread to sew with) is filler. Since this was corn hole, I used whole corn animal feed (which is the traditional filler). I got mine at a feed store at 75c a pound. Each bag held 3/4 of a cup of feed, so I didn’t need a full pound, but that was how it was sold. You also could use pop corn or dried beans or even commercial bean bag poly bead filler, but the corn is traditional.
I wanted 4 inch bags, so I cut the fabric into 4 1/2 x 4 1/2 inch squares (allowing for a quarter inch seam allowance on every side)
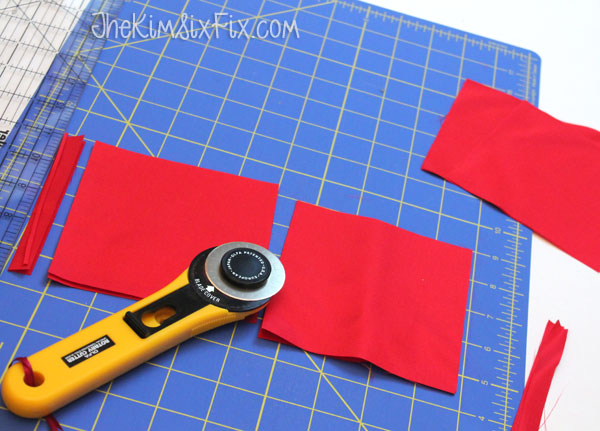
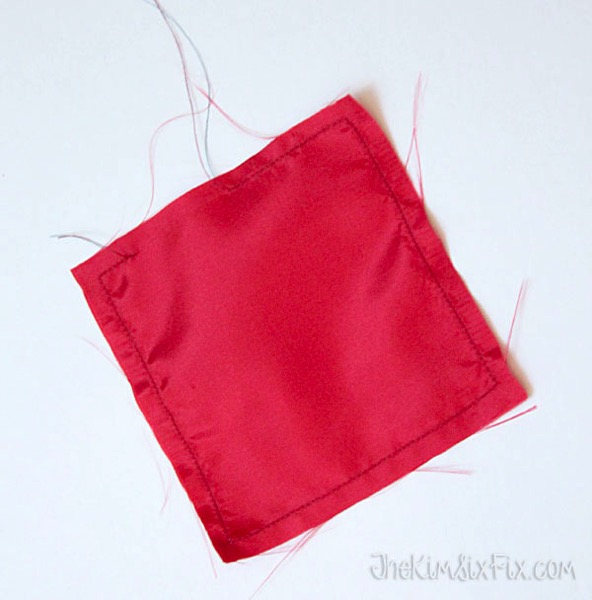
Becasuse this fabric is SUPER slippery, make sure you pin the layers right sides together (which means the shiny sides facing each other) before sewing. Then starting in the center of one edge sew all the way around the outside STOPPING ABOUT 1 1/2- 2 INCHES BEFORE THE START OF YOUR SEWING LINE.

You need to leave a gap (you can see it in the upper left hand corner of this photo) where you will turn the bag right side out. This is also the hole you will use to insert the bean bag filler:
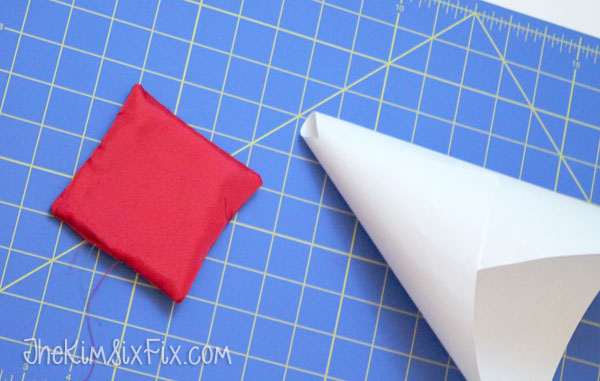
Since pouring corn kernels into a 1 inch gap in a tiny bag is rough you should use a funnel. My kitchen funnels wouldn’t have had a large enough opening at the bottom (the kernels would have clogged it up) so I made one out of rolled cardstock and tape.
I then measured out the corn. Since this is for a game, I wanted to make sure all the bags were the same weight. I measured 3/4 cup for a 4 inch bag. I could have squeezed in more filler, but that was just ‘floppy’ enough to get the feel I wanted.
 I inserted the funnel and they poured right in (it may be a two man job since the bag may want to collapse on you before it is filled).
Now you only have to seal up the opening. 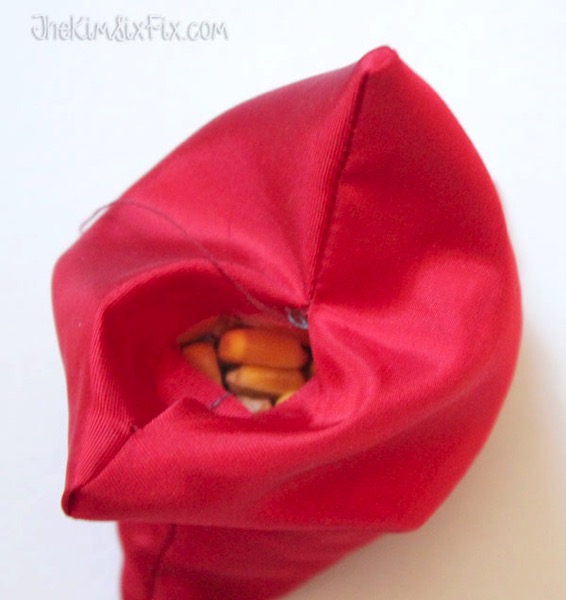
Once again I pinned the opening closed, to make it easier to sew.

Using needle and thread I hand sewed it shut using a whip stitch.


Once again I pinned the opening closed, to make it easier to sew.

Using needle and thread I hand sewed it shut using a whip stitch.

And here is the finished bag:
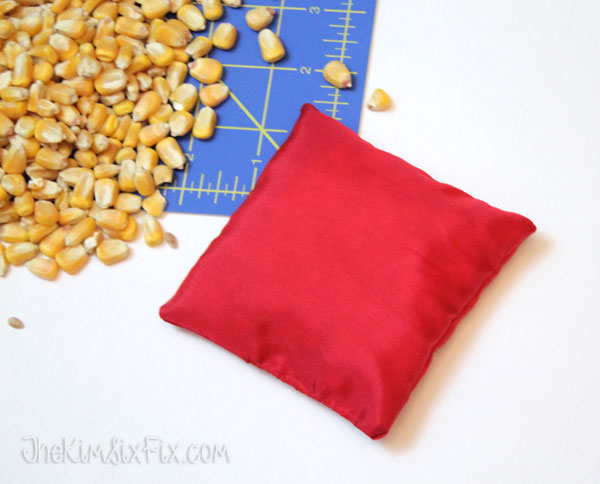 Total cost (per 6 bags): $1.46
Fabric: $0.46
Corn Filler: $.60
Hours of Corn Hole Fun: Priceless
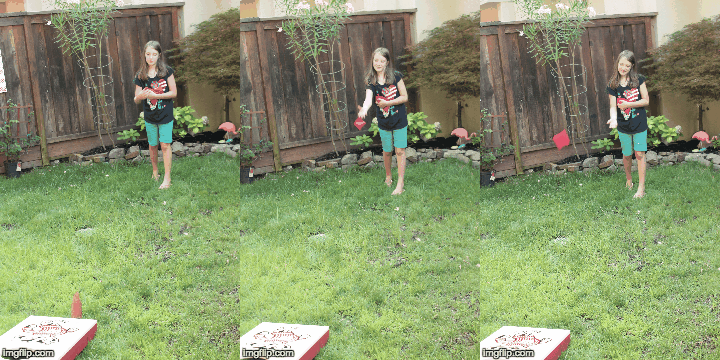
For the full tutorial on the Cornhole boards:


