

I eventually want to paint a TON of honey oak in my house (and I literally mean 3000 pounds of oak, I swear!) so these cabinets were going to be my test run.
Here is what the bank of cabinets looked like in my laundry room:

Here is what my laundry room looks like without them!

I took them down to the garage, took off the doors and the hardware and sanded them down:

I primed them with two coats of oil based Kilz and used some fancy-schmancy paintbrushes to try to minimize the brush strokes.

Needless to say.. dropping 25$ on a paintbrush to keep the doors smoothe did not work AT ALL!!

So I then had to sand the doors again and get a new game plan. I ended up using a foam roller to apply the actual paint to newly sanded and semi-smoothe doors:

The finish was much nicer using the foam rollers. At this point I want to emphasize that the color I painted the door was not any color I picked. Because this was only a test project I didn't want to use any of my good paint so I used whatever I could find that the previous owner had left behind.
The color is Benjamin Moore Polar Ice and although it doesn't look like it in these pictures, the color is pale minty green. GROSS. It looks like cheap mint ice cream that melted.

I also wanted to see if I could upgrade the cabinet hardware, but unfortanately, I have some really strange double clipping exposed hinges. There were impossible to find and because both the cabinet fronts and the doors were routed out to accomodate this hinge type, I wasn't able to replace them with something else.

Therefore, I pulled out the good old satin nickel spray paint and gave them a coat or two. I then followed up with a coat of flat clear coat. Because I knew the opening and closing would eventually scrape the paint off if I didn't protect it.

And there you have it:

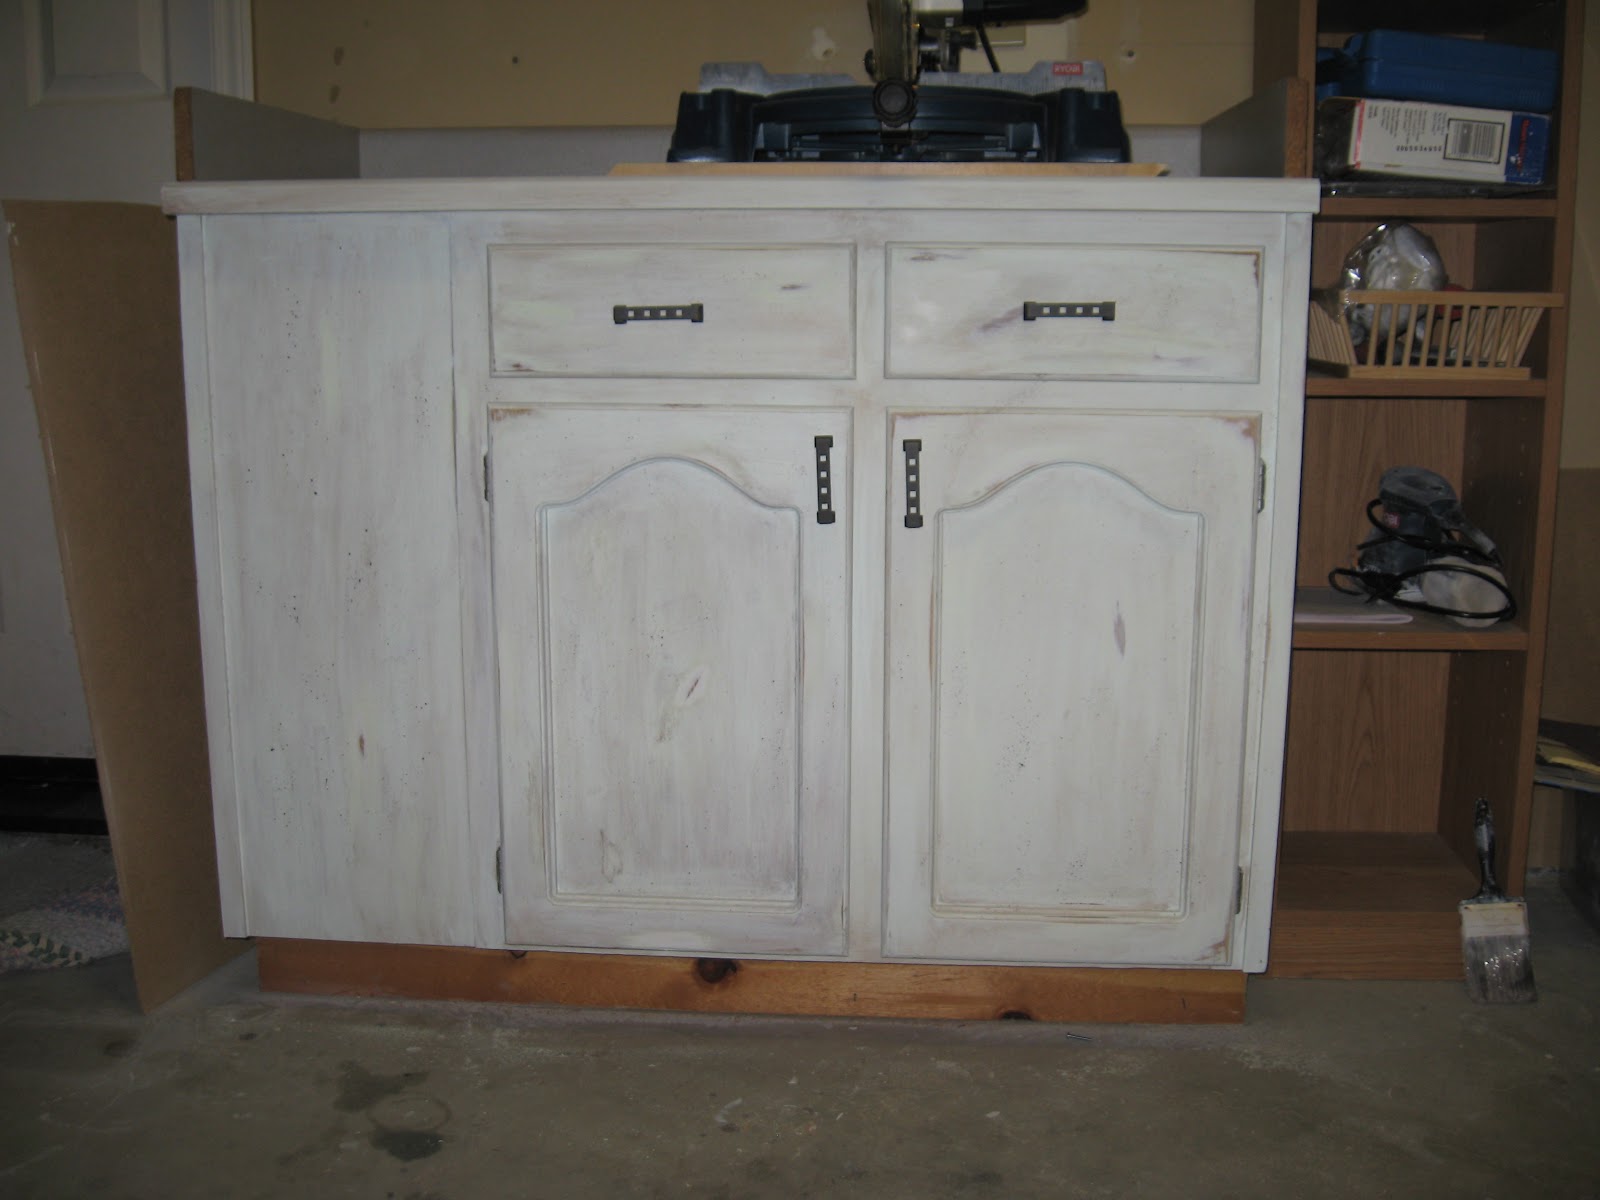
Boring! Plus I knew I couldn't stand looking at this ugly ass mint cabinet, so I thought I would faux finish it to look distressed. I had already figured out the strategy I was going to use going forward to paint the cabinetry in the house and this was my only chance to have a little fun and disguise the awful light green.
So I diluted some brown enamel I had used to repaint my kitchen table and did a glaze over the top of the green. It actually turned the minty color into a nice dusty green.. very Martha Stewart-esque. I then splattered it with more of the brown enamel and then went after it with my palm sander.
Lastly I added hardware. At this point I hadn't spent any money (besides the $25 paint brush and the $20 primer which I will actually use for the "real" cabinet painting) so I didn't want to spend $6 a piece for door pulls, especially on a workbench.
Luckily for me, Lowes had a bin of miscellaneous hardware for 39 cents. The only handle I could find four of were these brushed bronze handles (Darn! Should have painted my hinges bronze!)

They are a tad industrial for my tastes, but they will do the job.

And so here you have it.. my new workbench. I actually really like the way it turned out. It reminds me of an old bench you would have seen in a green house or old barn. Perfect for what I am going to use it for, since now any drips, scratches and stains will become part of it's patina!
And now I am confident tackling the rest of the oak. God knows there is plenty of it!
Cabinet refinishing:
HOW LONG DID IT TAKE?
and
HOW MUCH DID I SPEND?
Dissasembly/Hardware Removal: 15 minutes
Sanding (1x 100 grit, and 1x220 grit): 1 hour
Priming (2 coats): 1 hour
Sanding before paint: 30 minutes
Painting (1 coat): 30 minutes
Distressing: 2 hours
Spraypainting hinges: 15 minutes
Installing hardware: 30 minutes
6 work hours
(spread over 4 days due to 24 hour paint/primer dry times)
Cost for the project:
Hardware: $1.56
Sandpaper: Free (leftover from board and batten)
Paint: Free (bathroom paint from previous owner)
$1.56
Not included (because they will be counted towards other projects):
Kilz: $21.47
Mineral Spirits: $4.42
Oil paint specific paintbrushes: $34.59


And this surely gives me the idea and inspires me BIG TIME to have our old cabinets look the same like this… Thanks! I would love to see the end result on this... XOXO:D!
ReplyDeleteWeldonLabs.com