
Today’s project would be a perfect starter project for any brand new woodworker, since it doesn’t require a lot of expensive materials, the cuts are all very repetitive and you get to work with some simple angles.

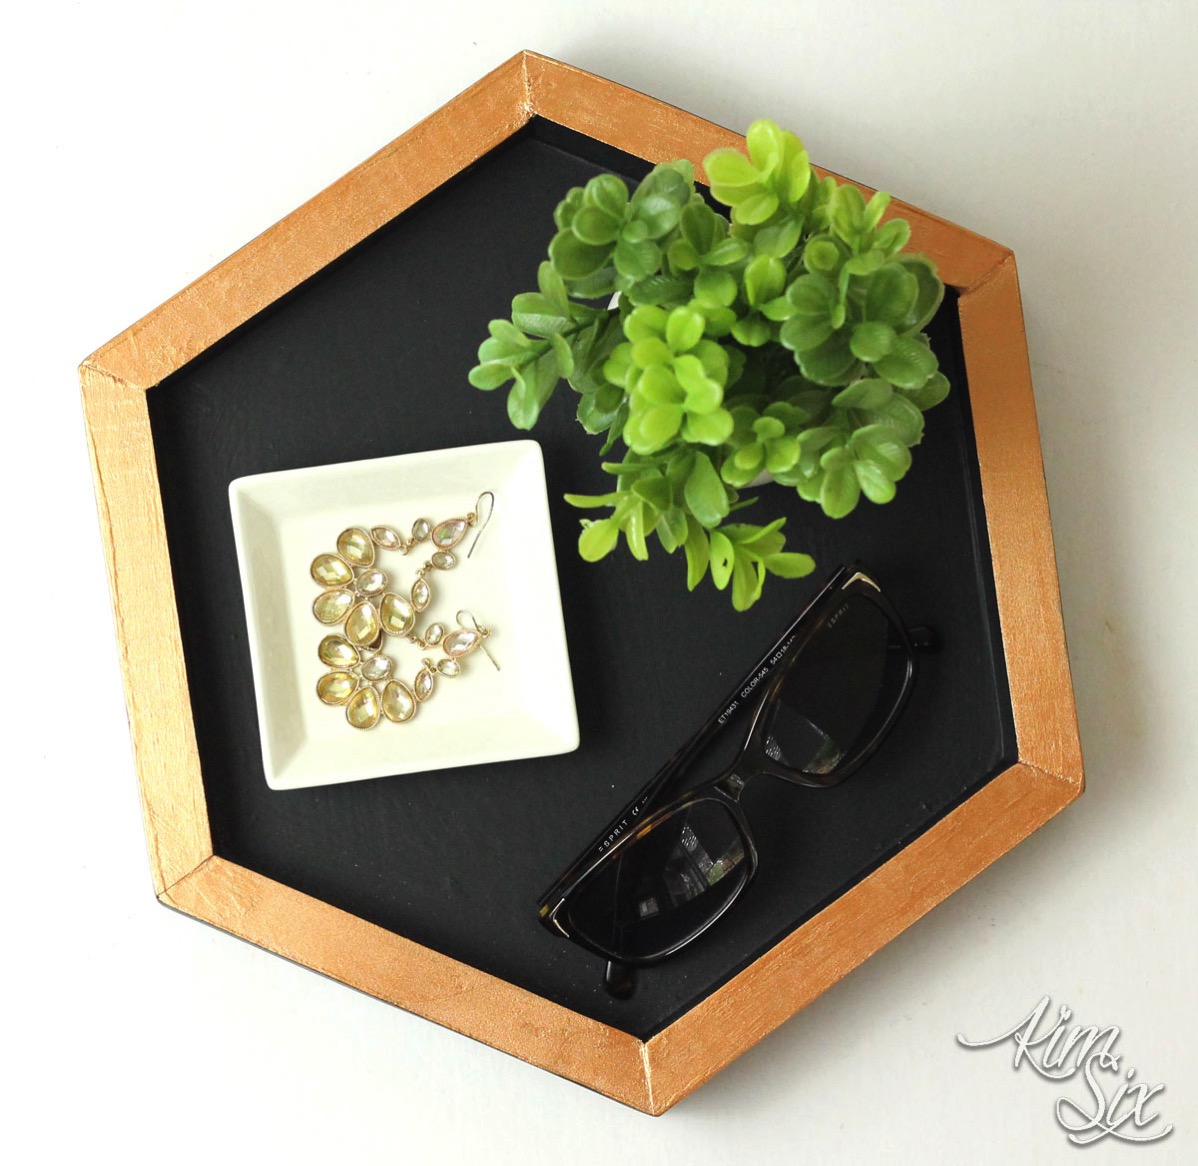
It is a simple hexagonal tray made out of nothing more than a 96 cent furring strip and an old piece of wooden chipboard I took off the back of a cheap ‘assemble it yourself’ bookcase.
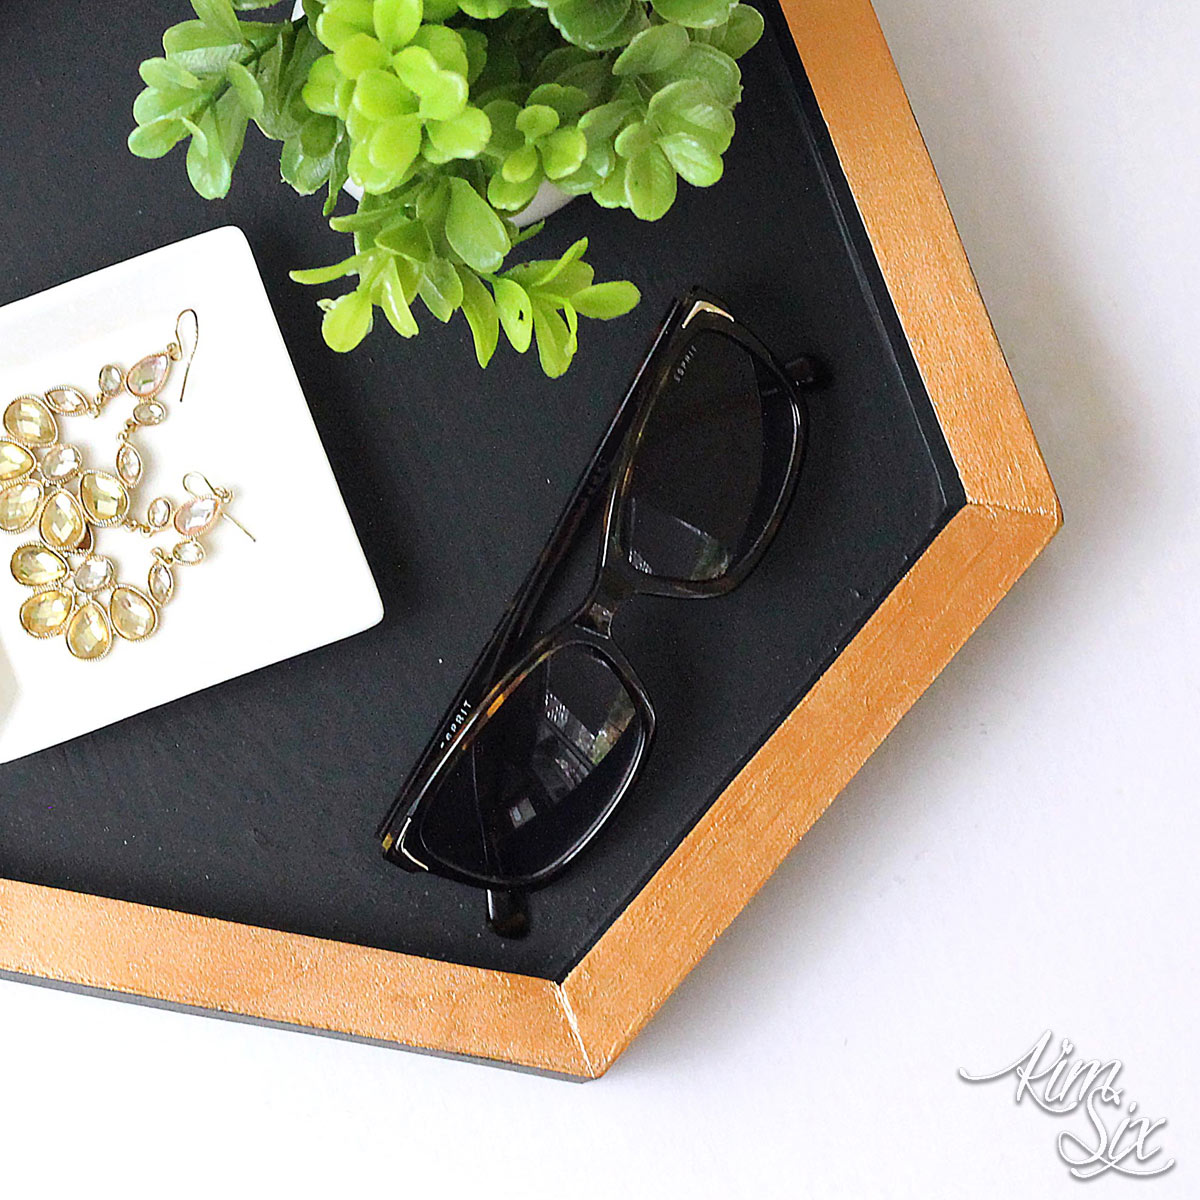
I painted it in a more modern black and copper color scheme (I actually used Devine Copper paint I had leftover from the copper paint dipped table and chairs I shared earlier) but you could make it more rustic or shabby chic by just changing the color.

Mine is just one of nine tray tutorials for this month’s Power Tool Challenge. I love how they are all a little different and have a different aesthetic and look. Here are the other submissions from the other members of the Power Tool Challenge team:

Miter Saw
Sandpaper
Table Saw or Router
Grrripper Push block
Jig Saw
Chipboard or Luan
Nail gun
Wood Glue
Caulk
Paint
- (1) Hexagon shaped bottom (cut from tracing)
**The angle confused me at first, until I realized you want a 60 degree angle at all 6 corners, and the miter needs to be half of that. So you set your miter saw to 30 degrees to give you two 30 degree angles forming a 60 degree corner (repeated 6 times gives you 360 degrees.)
My sides were 7 inches long, but my tray was rather small, they can be any length as long as they are the same and the angles are +30 degrees on one size and -30 degrees on the other.
To make it go fast I cut the first one and then marked a line my table saw so I could cut 5 more without remeasuring.

This is how they come together. If they don’t fit tightly at this stage you need to recut them or sand them so the fit together without gaps, since they need to be pretty tight in order to hold the bottom of the tray in.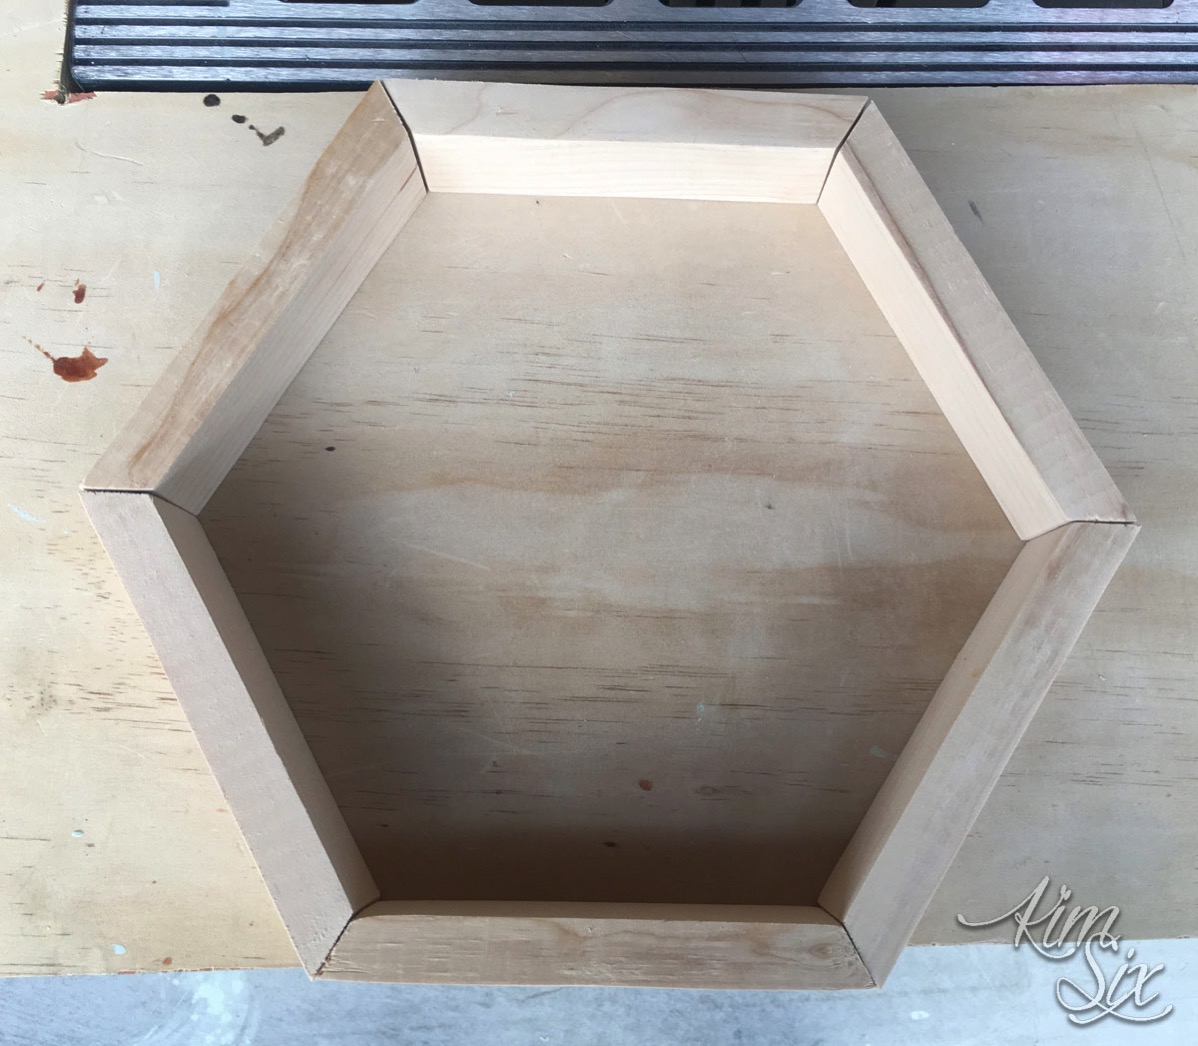
To create a groove for the bottom of the tray, I set the table saw blade up 1/2 inch, and I set my fence 1/2 inch away from the blade. I then used my Grrripper to run the edges across the blade leaving behind the kerf.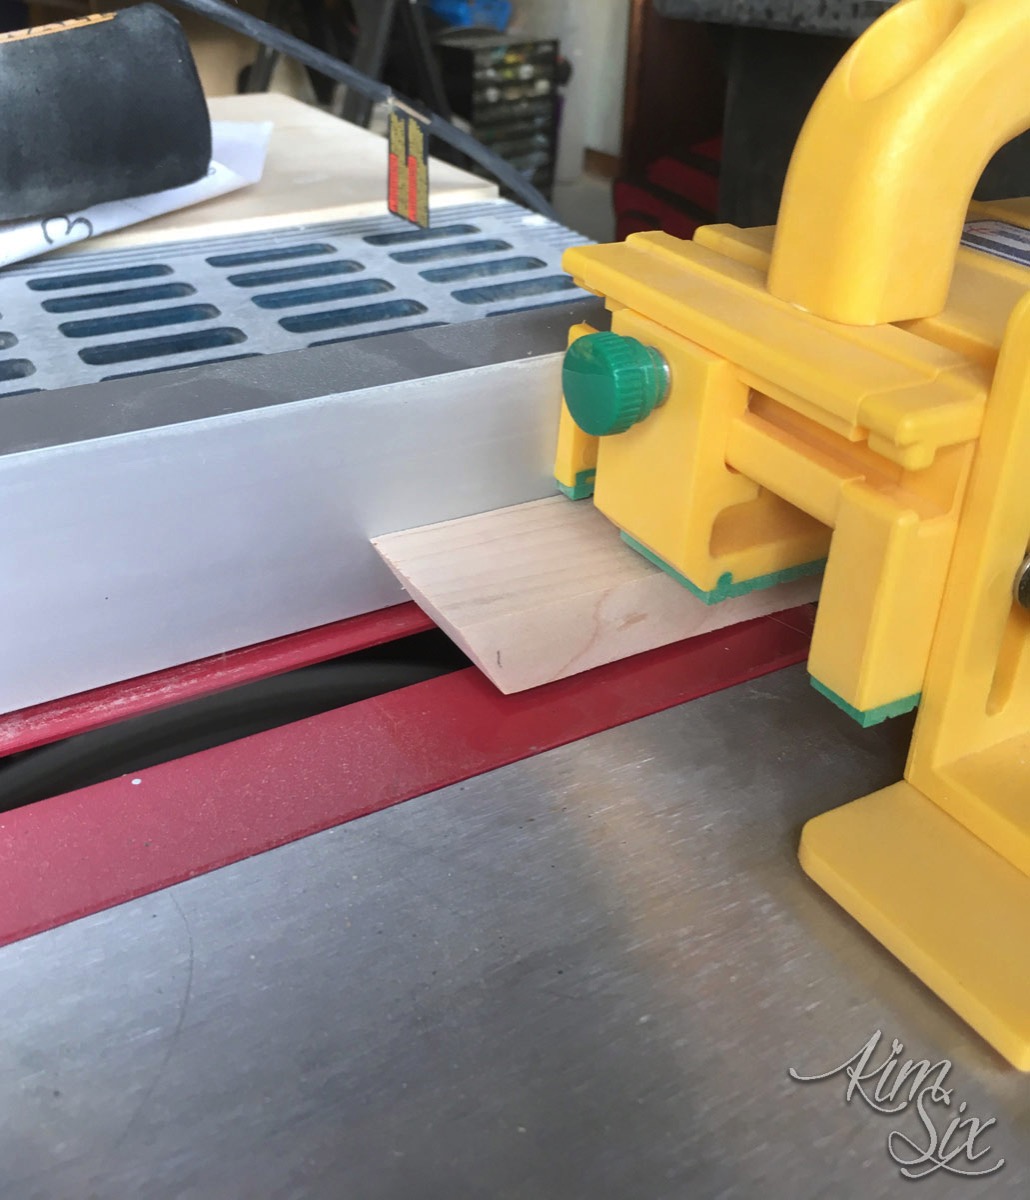
REMEMBER TO CUT THE GROOVE IN THE SHORTER SIDE OF THE TRAPEZOID. This will be the inside of the tray.
If you don’t have a table saw or if you board for the bottom of the tray is too thick, you could use a router to cut your groove instead.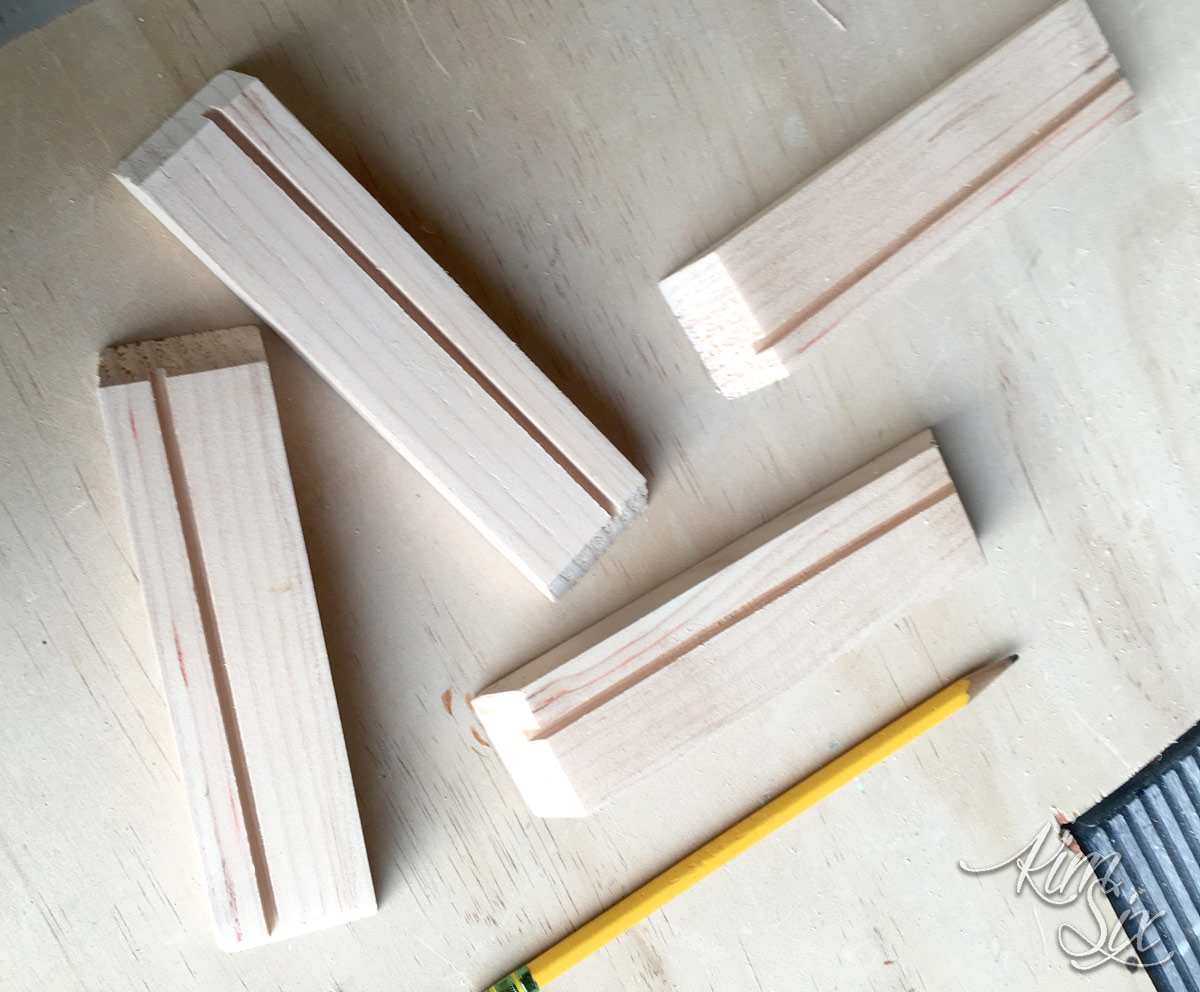 Next I dry fit the trapezoid again, this time on top of my piece of chipboard. I traced the inside of trapezoid shape and then I added 1/3 inch extra around the outside (that is the part that will fit inside the groove you just cut.) You want to be as accurate as possible for this step.
I used a jig saw to cut out the trapezoid.
 Insert the chipboard bottom into the slots and assemble your tray (this was the tricky part for me. Holding the pieces for the nail gun without them sliding.)
If your fit isn’t perfect, a little caulk will help! Now, onto paint. I used black for all but the top edge. I used Valspar’s Devine Penny on the top
Sure came out cute, and only cost about 50 cents in supplies! Gotta love that!

It is a simple hexagonal tray made out of nothing more than a 96 cent furring strip and an old piece of wooden chipboard I took off the back of a cheap ‘assemble it yourself’ bookcase.

I painted it in a more modern black and copper color scheme (I actually used Devine Copper paint I had leftover from the copper paint dipped table and chairs I shared earlier) but you could make it more rustic or shabby chic by just changing the color.

Mine is just one of nine tray tutorials for this month’s Power Tool Challenge. I love how they are all a little different and have a different aesthetic and look. Here are the other submissions from the other members of the Power Tool Challenge team:

Designed Décor - DIY Serving Tray
Interior Frugalista - DIY Farmhouse Tray
H2OBungalow - Coastal Rope Handle Tray Tutorial
Virginia Sweet Pea - DIY Farmhouse Style Tray
My Repurposed Life - DIY Tray Using Metal Tiles
My Love 2 Create - DIY Chalkboard Serving Tray
Create And Babble - DIY Wooden Quilt Square Tray
The Kim Six Fix - Easy Hexagonal Tray
Domestically Speaking - DIY Coastal Tray

Easy DIY Hexagonal Tray
Supplies:
1”x2" furring stripMiter Saw
Sandpaper
Table Saw or Router
Grrripper Push block
Jig Saw
Chipboard or Luan
Nail gun
Wood Glue
Caulk
Paint
Cut List:
- (6) matching lengths of 1”x2” cut at 30 degree opposite angles** at both ends (to make a trapezoid)- (1) Hexagon shaped bottom (cut from tracing)
 |
| Courtesy: Wood Magazine |
**The angle confused me at first, until I realized you want a 60 degree angle at all 6 corners, and the miter needs to be half of that. So you set your miter saw to 30 degrees to give you two 30 degree angles forming a 60 degree corner (repeated 6 times gives you 360 degrees.)
My sides were 7 inches long, but my tray was rather small, they can be any length as long as they are the same and the angles are +30 degrees on one size and -30 degrees on the other.
To make it go fast I cut the first one and then marked a line my table saw so I could cut 5 more without remeasuring.

This is how they come together. If they don’t fit tightly at this stage you need to recut them or sand them so the fit together without gaps, since they need to be pretty tight in order to hold the bottom of the tray in.

To create a groove for the bottom of the tray, I set the table saw blade up 1/2 inch, and I set my fence 1/2 inch away from the blade. I then used my Grrripper to run the edges across the blade leaving behind the kerf.

REMEMBER TO CUT THE GROOVE IN THE SHORTER SIDE OF THE TRAPEZOID. This will be the inside of the tray.
If you don’t have a table saw or if you board for the bottom of the tray is too thick, you could use a router to cut your groove instead.
 Next I dry fit the trapezoid again, this time on top of my piece of chipboard. I traced the inside of trapezoid shape and then I added 1/3 inch extra around the outside (that is the part that will fit inside the groove you just cut.) You want to be as accurate as possible for this step.
I used a jig saw to cut out the trapezoid.
 Insert the chipboard bottom into the slots and assemble your tray (this was the tricky part for me. Holding the pieces for the nail gun without them sliding.)
If your fit isn’t perfect, a little caulk will help!
 Now, onto paint. I used black for all but the top edge. I used Valspar’s Devine Penny on the top
Sure came out cute, and only cost about 50 cents in supplies! Gotta love that!


