s The Kim Six Fix: Money Pit
What is New?
Showing posts with label Money Pit. Show all posts

Room Staging for MLS Listing Photos (Flashback Friday)

Before I get to today's Flashback Friday, I wanted to say thank you to all the people who reached out to me after Wednesday's post.   I really appreciate the positive feedback and encouragement.  Since I wrote that post I have begun a "no screentime" policy for myself whenever my kids are around (which is pretty much 8am-8pm.)  I am hoping this doesn't have a huge negative impact on my blogging, but only time will tell. 

Now.. On with Flashback Friday!  

In the summer of 2011 we sold our Boston "Money Pit" after owning it less than 9 months.  We did make some major changes, like gutting the kitchen, but most of it remained unchanged. 

When we bought the house, it had wallowed on the market for 7 months, and had taken multiple price reductions.  We ended up closing on it for under asking. 
On the other hand, when we listed it (for 10% more than we paid for it 7 months earlier), we had four offers within 24 hours of hitting the MLS, some for more than the asking price.  

What do I think was the big difference (along with an updated kitchen)?   Staging.

Replacing a Termite Damaged Pergola Post

Pin It
I know I have posted a lot of projects that a whole lot sexier than this, but sometimes you just have to go back to basics.  DIY projects aren't always about making something beautiful. In fact, frequently they are about ugly, nasty things that just need to get done.  Home repairs fall into that category.

This project actually sprouted from a "beautifying" project where I was hoping to replace the ugly lattice air conditioner surround with something prettier.   Of course, like a lot of projects, things were NOT going to go as planned.

As I showed you during my backyard tour, I have a teenie patio with a pergola over the door.  

Attached to the pergola was a shoulder high "fence" (I use that term lightly) that surrounded the A/C unit.  The fence was really wobbly and was falling apart.  The lattice work was falling out and leaves and debris were getting stuck under it..   Like a dimwit, I forgot to take a true "before" photo, but here is my virtual rendering of what it looked like.  
Trust me. It was UGLY.  And it was too tall.  There was no need to have it shoulder height.  So I decided to tear it out:
 

My original idea was to replace it with something a little less, um, lattice-y.  I liked the look of a shorter louvered screen, maybe even with flower boxes on top.  This was my inspiration photo:

All was going well, until I realized that the reason the screen was falling apart, was because it had severe TERMITE DAMAGE.  *duh-duh-duuuuhh...* 

The post next to the A/C unit was completely destroyed. I had to replace it. 

To get the old post out, I loosened the bolts that were holding up the top of the pergola. 


The nut was a little more stubborn than I had hoped, but with a little help from my favorite penetrating lubricant. 

(This is the same stuff I used to loosen up my 100 year old cast iron steam pipes in the money pit 1.0) I was able to get the nut loose.

Before removing the support bolt, I rested the weight of the pergola on my ladder, and only then did I take out the bolt and remove the post:

This is what I pulled out:

After seeing the post was rotted completely through I was so thankful the pergola was still standing.  In fact, when I pulled the post out, the bottom half  was still embedded in the dirt and required a crow bar to remove,  it had been completely severed!  YIKES!

The next thing I did was remove all the wet, compacted clay from the hole.  I knew that if I wanted to prevent further rot I would have to get better drainage under the post.  

I filled the hole in with pea gravel, which packed easily, but still provided good drainage:

The original post was an 8x8 (a biggie) and had NOT been pressure treated. That is another reason it didn't last more than 15 years.  8x8 pressure treated posts are not standard so I had one custom milled from my lumberyard for about $80.

I painted the post with oiled based primer on the areas that were going to be in contact with the ground and with any other wood surface.  I eventually will paint the whole post but I was in a hurry to get the new post installed and only did the critical areas first.  I used the old post as a template for where to drill a hole for the support bolt.

Measuring the bottom (how deep into the ground the post needed to sit) was a lot harder. Since the post was rotten and split in half, I had to measure down from the top to mark how low the post would be below the patio surface:

Finally I was able to drop the post into the hole and made sure the top of the patio lined up with the mark. Then I replaced the long bolt that attached the top of the pergola to the post.

To prevent any shifting or swaying (especially in an earthquake) I decided I would attach the post to the patio on two sides  using L-brackets, large screws and wedge anchors.


Wedge anchors are pretty straight forward.   You drill into the concrete with a masonry bit and you also make a pilot hole in the post.
 Using a turkey baster, you suck all the dust out of the hole and then drop in the anchor.

Put the L-bracker over the anchor and then attach the top part to of the L to the post with a large screw.  Finally, screw a nut over the top of anchor using a ratchet.  

And there you have it.  A super secure post:
 A little gravel back fill and we are finsihsed! 
   $78 and a few days later.. and we are right back where we started.  But now I need a break.  I don't feel like looking at that stupid pergola anymore! 

My Home Tour: A Year After Moving In

This week marks one year that we have lived in the Money Pit 2.0! 
One year already!

I thought I would give you a little tour of the house.. and how far we have come.  
The before photo will be a photo of the day we moved in (or the MLS listing when we purchased the house) and the after photo will be what that room looks like today.
 
The Kitchen (full reveal here):

Guest Bathroom (full reveal here): 


Girls Bedroom (full reveal here):


Stairs (full reveal here):


Laundry Room (full reveal here):


Powder Room (full reveal here):


The Family Room (full reveal here):


Dining Room (full reveal here):


The Garage (full reveal here):


There are also a couple of rooms in the house which I'll share with you, but I still have big plans for them!  

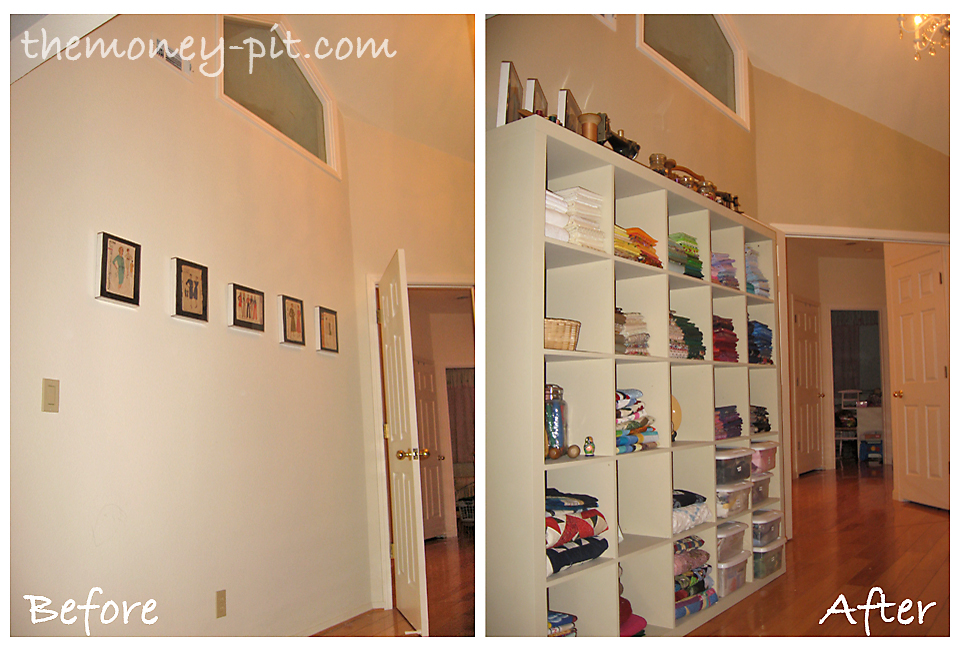
Sewing Room/Craft Studio (some updates here):


Living Room:
The previous owner's stuff:


Office/Guest Room:


Master Bedroom (at least it has doors now!):


The previous owner's stuff:


Master Bathroom (YIKES!):


You can see how far we have come in just 12 short months, but I still have a lot of projects on my hands!

I still have plenty of 1980s Golden Oak and Brass to get rid of! 

Pin It

Sharing at some of these parties
*MONDAY*
Tutorial & Tips – Home Stories from A to Z
Craft-O-Maniac Monday- Craftomaniac
DIY Project Parade- The DIY Showoff
Creative Me Monday- The Southern Institute
Keeping It Simple-Motivate Me Monday 
 Serendipity and Spice - Manic Monday
The Girl Creative-Just Something I Whipped Up
Metamophasis Monday- Between Naps on the Front Porch
Mop it Up Monday - I Should Be Mopping the Floor

*TUESDAY*
Today's Creative Blog-Get your Craft On Tuesday 
 Uncommonly Yours- Link Party
Sugar Bee Crafts-Take A Look Tuesday
Show Me What Ya Got- Not Just a Housewife
Tip Me Tuesday- Tip Junkie
Trash 2 Treasure Tuesday- Sassy Sites
Tuesday Tutorial Link Party- Kurtz Corner
Daunting to Doable- Project Queen  
*WEDNESDAY*
 Wicked Awesome Wednesdays - Handy Man, Crafty Woman
CSI Project Link Up- The CSI Project (Weekly Challenges)
From Dream to Reality: DIY Dreamer
Link It Up Wednesday- Junk In Their Trunk
Someday Crafts- Whatever Goes Wednesday
Show & Share- Southern Lovely
Pin it and Win It - Cheap Crafty Mama
  *THURSDAY*
Delightful Order- Delightfully Inspiring
Catch as Catch Can- My Repurposed Life
Shabby Creek Cottage- Transformation Thursday
House of Hepworths- Hookin Up
Show Me Extraordinary - The 36th Avenue
Inspired Creations - Embracing Change
Time Travel Thursday - Brambleberry Cottage
*FRIDAY* 
Tickled Pink Friday - 504 Main
Inspiration Friday - At The Picket Fence
Pinterest Challenge -Trendy Tree House
Repurpose, Remodel, Reveal - The Rooser & The Hen  
Pity Party- Thirty Handmade Days
Weekend Wrap-Up Party- Tatertots & Jello
Frugal Friday- The Shabby Nest
Free For All Friday-Sassy Sites
Show and Tell Friday - My Romantic Home
Addicts not so anonymous - Addicted 2 Decorating 
*SATURDAY*
 Saturday Seven Party-Positively Splendid
Weekend Wrap Up Party -Family Ever After
*SUNDAY*
Under the Table and Dreaming-Sunday Showcase Party

 
Copyright © 2017 The Kim Six Fix. Proudly Blogging on Blogger