
Hi again! Alicia here from Sew What Alicia! Today I am bringing you a makeup bag tutorial with awesome pockets and a fun roll out brush holder!

For this project you will need a few supplies on top of the standard sewing tools you have lying around.
First you will need two different fabrics.
From the 1st fabric (the fox fabric in my bag) you need four pieces that measure 10" by 12"
From the 2nd fabric (the orange dot in my bag) you need two pieces that are 7" by 12" and also two pieces that are 8" by 15". You will also need to scrap pieces of this fabric that will serve as the ties for the brush roll. Lastly from this fabric you need a piece that is 2" by 30" for binding.
Lastly you need a 24" zipper, I used white.

Line up all the main body pieces (the fox fabric.) On the two top corners we want a rounded edge. I used a ribbon spool to trace the rounded edge. You can use a plate or bowl or even a cup as long as you make both sides exactly the same.


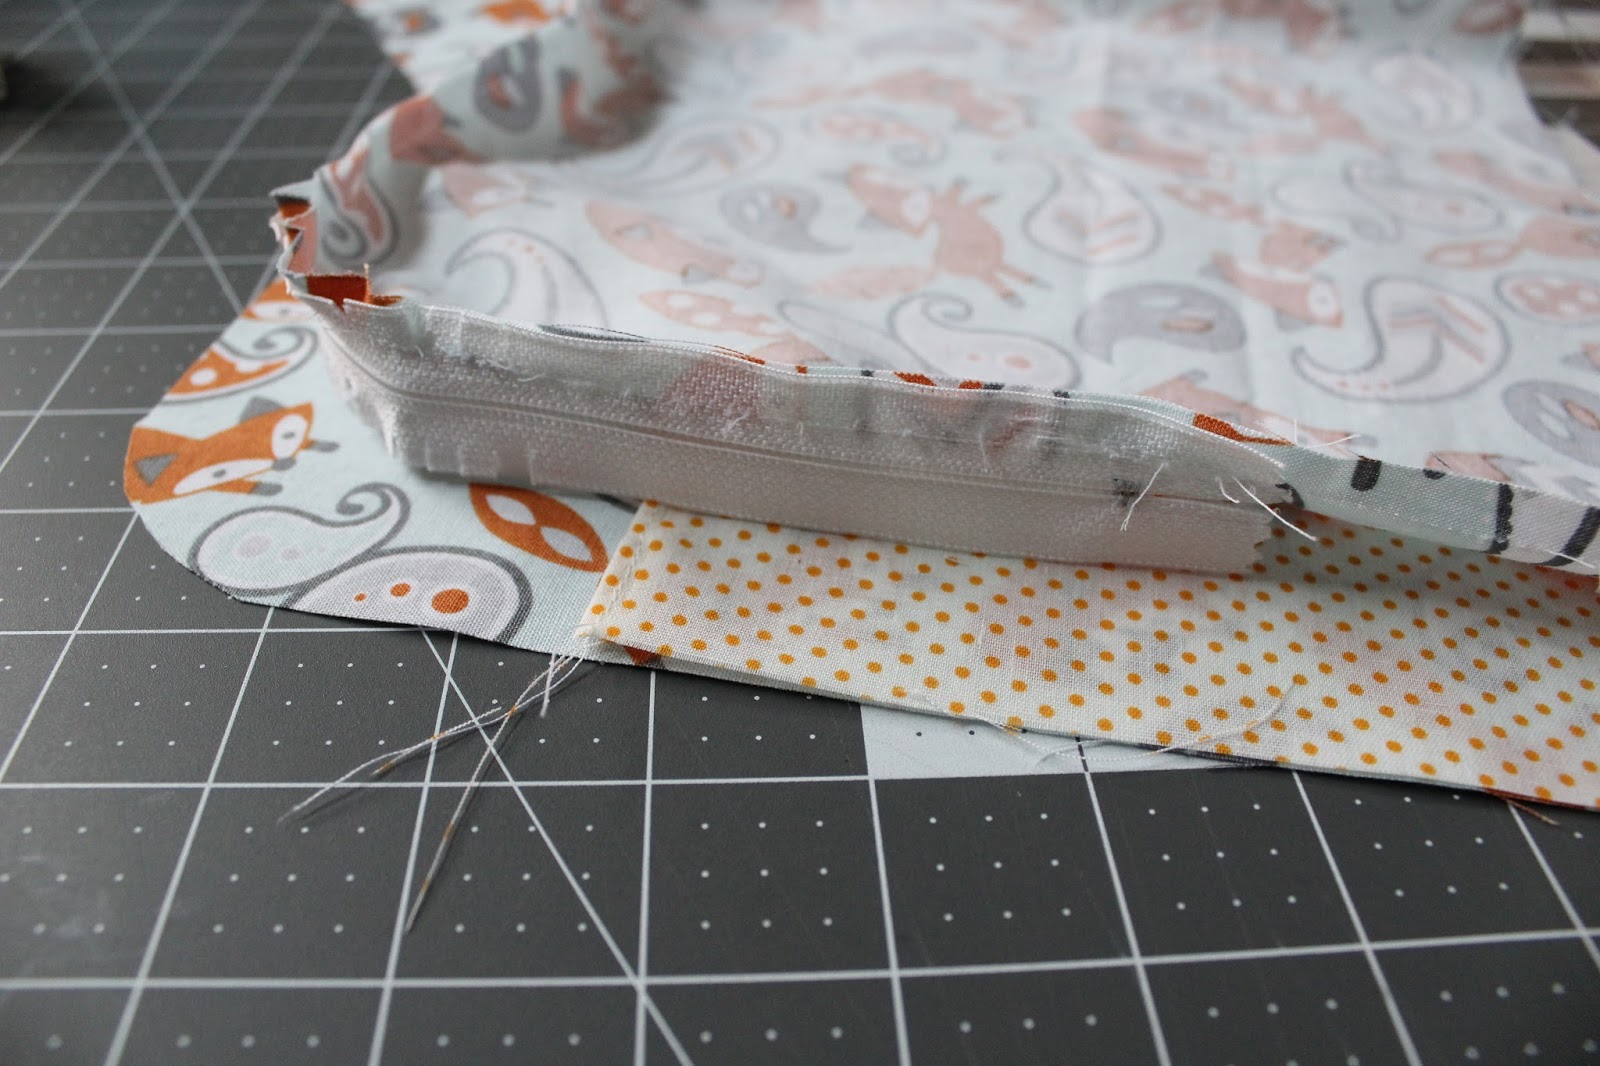
Once you have the corners prepped we will work with one piece of the main body fabric at a time. Line the zipper up with the bottom left corner and place it face down. Pin it in place along the entire left edge.

When you come to the edge we will want to make short small cuts to help the zipper bend and turn the corner. Do this on both sides of the zipper, as you can see below. You will then continue to pin the zipper until you come to the second corner where you will have to snip again. Be sure not to cut too deep because then the zipper won't stay in place.

Sew the zipper in place.

Ok now we need to take a quick time out and prep the pockets. Grab the two pocket pieces. Fold one of the long edges over 1/4" and sew it in place, do this for each of the pocket pieces. Then grab one of the front pieces and line the pocket piece up along the bottom edge and two sides. The last step to prep these pockets is to sew down the length of the pocket in the middle or every several inches to create separate pockets.

Pin around the entire length. Pin on the side where you can see the seam that you used to attach the zipper. You are going to sew right over that line that you can see to attach the second side.


Now you have another side of the zipper to attach. Repeat the steps listed above to attach the pocket and then attach the two sides of the zipper. To ensure that you are attaching the sides correctly you will first line up the corresponding pieces with each other. First put the front piece face down on top of the front piece and then when you have sewed that in place you will line up the inside pocket piece with the other pocket piece and sew it onto the zipper.
Next we are ready to prep the brush roll. Take one of the 8" by 15" pieces and press it in half. Then fold over the long edges 1/4" and sew in place.

Then enfold the other 8" by 15" piece with this pocket you just created. Pin it in place. Then sew along the edge and sew lines every 1/2" to 1" to create pockets for your brushes.

Now remember those scrap pieces I told you about. You want to press these and sew a seam to keep the raw edges from fraying. Then pin them in place along the bottom of the brush roll that you just created. It should look as pictured below. Half of each tie is under the roll and not visible. These will attach to each other and tie when the roll is rolled. Pin this entire piece into the makeup bag. There should be the bottom piece of the makeup bag the brush roll and then the top piece of the makeup bag all pinned together at the very bottom.
 Next we are going to create a small piece of binding for the bottom of the bag. Fold the 2" piece in half and press along the entire piece.


This bag is a fun place to throw your essentials for traveling or just for storing in your makeup drawer! Happy Sewing! <3<3<3 Alicia


