
courtesy of: www.ofcatsandcardstock.blogspot.com
Since my house was built in 1988 it has it's fair share of brass. I mean it is EVERYWHERE. (Goes great with the lovely golden oak!)
So, here is a quick run down of everything I have de-brassed thus far.
There are a couple of options for dealing with brass fixtures and hardware:
1)Remove
2)Replace
3)Repaint
4)Cover up
In my house I am doing all four..
First up: Remove
I am taking out as much needless brass to just knock down the sheer volume of the shiny metal in this place. Check out this lovely shower door for example. It is a GIANT pain in the butt to bathe your kids in a tub with a door. Plus, it is butt ugly.

Remove 3 screws and voila:

You are left with a whole LOT of nasty:

Nothing a little elbow grease, razor blade and Comet can't get rid of:

Second: Replace
I am replacing all the fixtures that are outdated and where a coat of paint just won't update it. This includes things like faucets, switchplates and light fixtures.
For example check out this lovely bathroom combination of brass switchplates, faucet, vanity lighting, mirror and medicine cabinet, (plus, of course, lovely golden oak!)

First up, the faucet and drain. Bleck!


Whew! Much better.
And now, onto the shower fixtures.. Remember them?
And after:

This was really a nightmare because the valve which supports the shower handle would only accept Price Pfister faucets manufactured before 1994. Therefore I had to use a retro trim kit for the actual hardware and splash guard and used a new faucet set for the handle, spout, and showerhead.

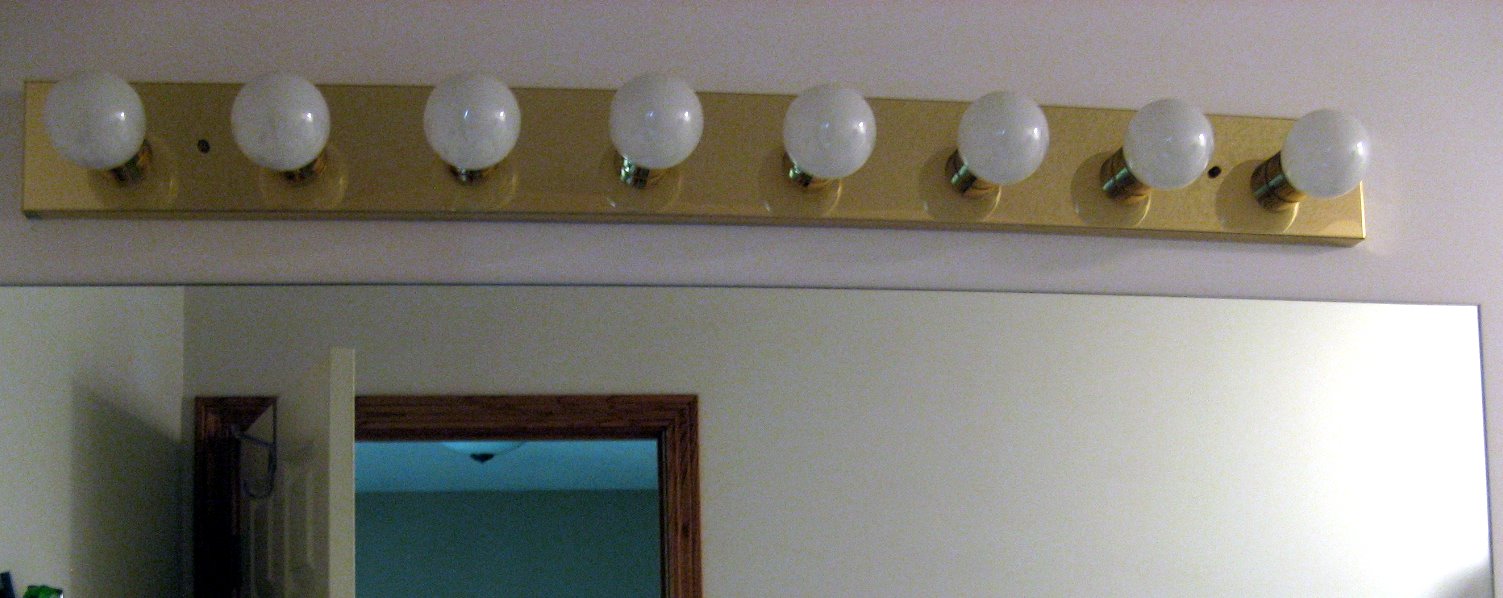
Next up: the light fixture. Looks familiar right? Although mine is much classier, it has clear lightbulbs.
Before:

After:

They were even brass fixtures on the outside of the house. Look at this lovely exterior light (again, my neighbors, but I had the same one.) Yes, this used to be brass:


I also replaced all the switchplate covers in the house (yes, even the SWITCH PLATES WERE BRASS!!)
Option 3: Repaint
This is the cheapest option (other than remove) and although it isn't as nice as having new fixtures, it is pretty darn close. Let me introduce you to my new best friend:

I previously experimented with covering up brass hardware back in the old money pit and I loved how it turned out so I knew it was what I was going to do when I saw this front door hardware!
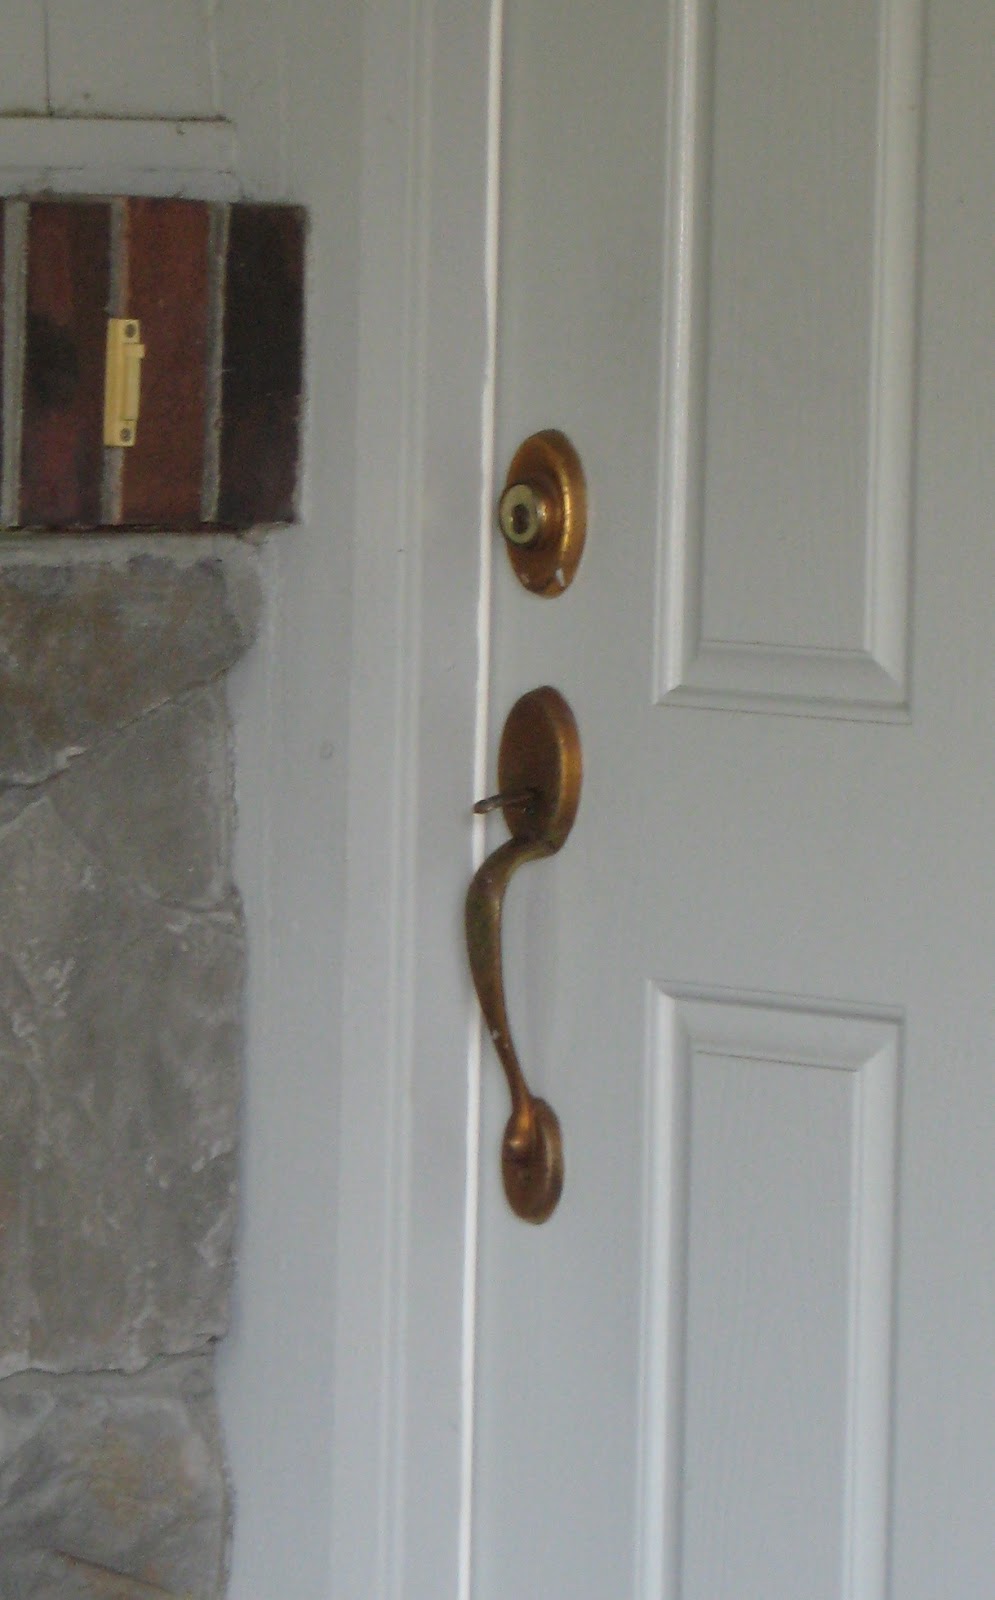
It was nasty, originally brass, but the shellac had come off and it was discolored and peeling. (this is actually my neighbors door, but mine look a lot like it!) A little light sanding, a few coats of brushed nickel and a topcoat of clear flat and you end up with this:

Sure beats spending $300 on a new lock set! I also sprayed my doorbell (which was trimmed in brass) and my intercom box (again, BRASS!) The whole front entry looks so much better!
In the bathroom example, I had a lovely brass trimmed medicine cabinet. I considered a new cabinet but they were 100$+ and mine isn't in bad shape (not to mention the headache of a tear out and replacement)
I knew that the brushed nickel spray paint was an option, however I just spent all that time and money putting in chrome. I needed to get the cabinet to be shiny silver. BRING ON THE SPRAY PAINT! First thing I did after buying the Rustoleum Metallics in chrome was test it out on the nasty old light fixture which was also brass.. and here is the result:

Not bad at all! (It was actually quite reflective) Bring on the cabinet! I taped it off, and I also covered up pretty much every surface in the bathroom since I didn't want chrome anywhere else. The brass trim actually wrapped around the door so I also had to spray the interior.

It covered really well. Only two thin coats was what it required.

Taaa Daaa!!

Even the interior looked really good. Best 99$ I ever saved!

Next up on the list of things to paint is all the interior door knobs (since at 20$ a set, it would be in excess of $1000 to replace ever single interior and exterior door and closet knob in the house.) Also, as mentioned previously, I am also using the same technique to give myself brushed nickel hardware on my cabinets when they get repainted.
Option 4: Cover Up
So after all that, what brass is left in my bathroom? Well, the frame that holds up the mirror. I am not going to paint it (although I could) but instead I am going to use some crown molding and frame out the mirror to make it look less like a sheet of plate glass. Right now this is my inspiration mirror that I found on Pinterest:

Courtesy of: www.fullofgreatideas.blogspot.com
Awesome right?
Once that is done, there will not be one single speck of brass in the girls' bathroom. Too bad I can't say the same for the rest of the house.


Nice work!! I might have to look into that molding idea for my cheap plate glass mirrors. Hurry up and do it so I can learn from you!
ReplyDeleteYou just amaze me with all of your craftiness with your new home! I love the improvements! Makes me want to do something to this ol' house that we're renting!
ReplyDeleteU R awesome :)
ReplyDeleteYour work is super motivating! Did you have to remove your front door hardware before painting it, or did you just tape off the door?
ReplyDeleteI removed all the hardware first. It was a lot easier. It also gave me a chance to touch up the paint on the door.
ReplyDelete