
You had a little preview of what this room looked like back when I was renovating the kitchen:

But that isn't reality. This is what the room looked like when we were actually living and dining in it:

Yes, we live like pigs. Notice the two booster seats and sippy cup on the table. The playfood on the floor, and I am not exactly sure why that footrest and tupperware is there. I think it was headed down to the cellar for staging the upstairs.
I want to point out the kitchen table and how it blends in with the floor. That is NOT COOL. I knew it wouldn't show well in the MLS pictures, so I knew I would have to do something about it.
That became the first project. The table is actually a cheap assemble it yourself number we got at Kmart. Nothing special. I actually have always hated it:
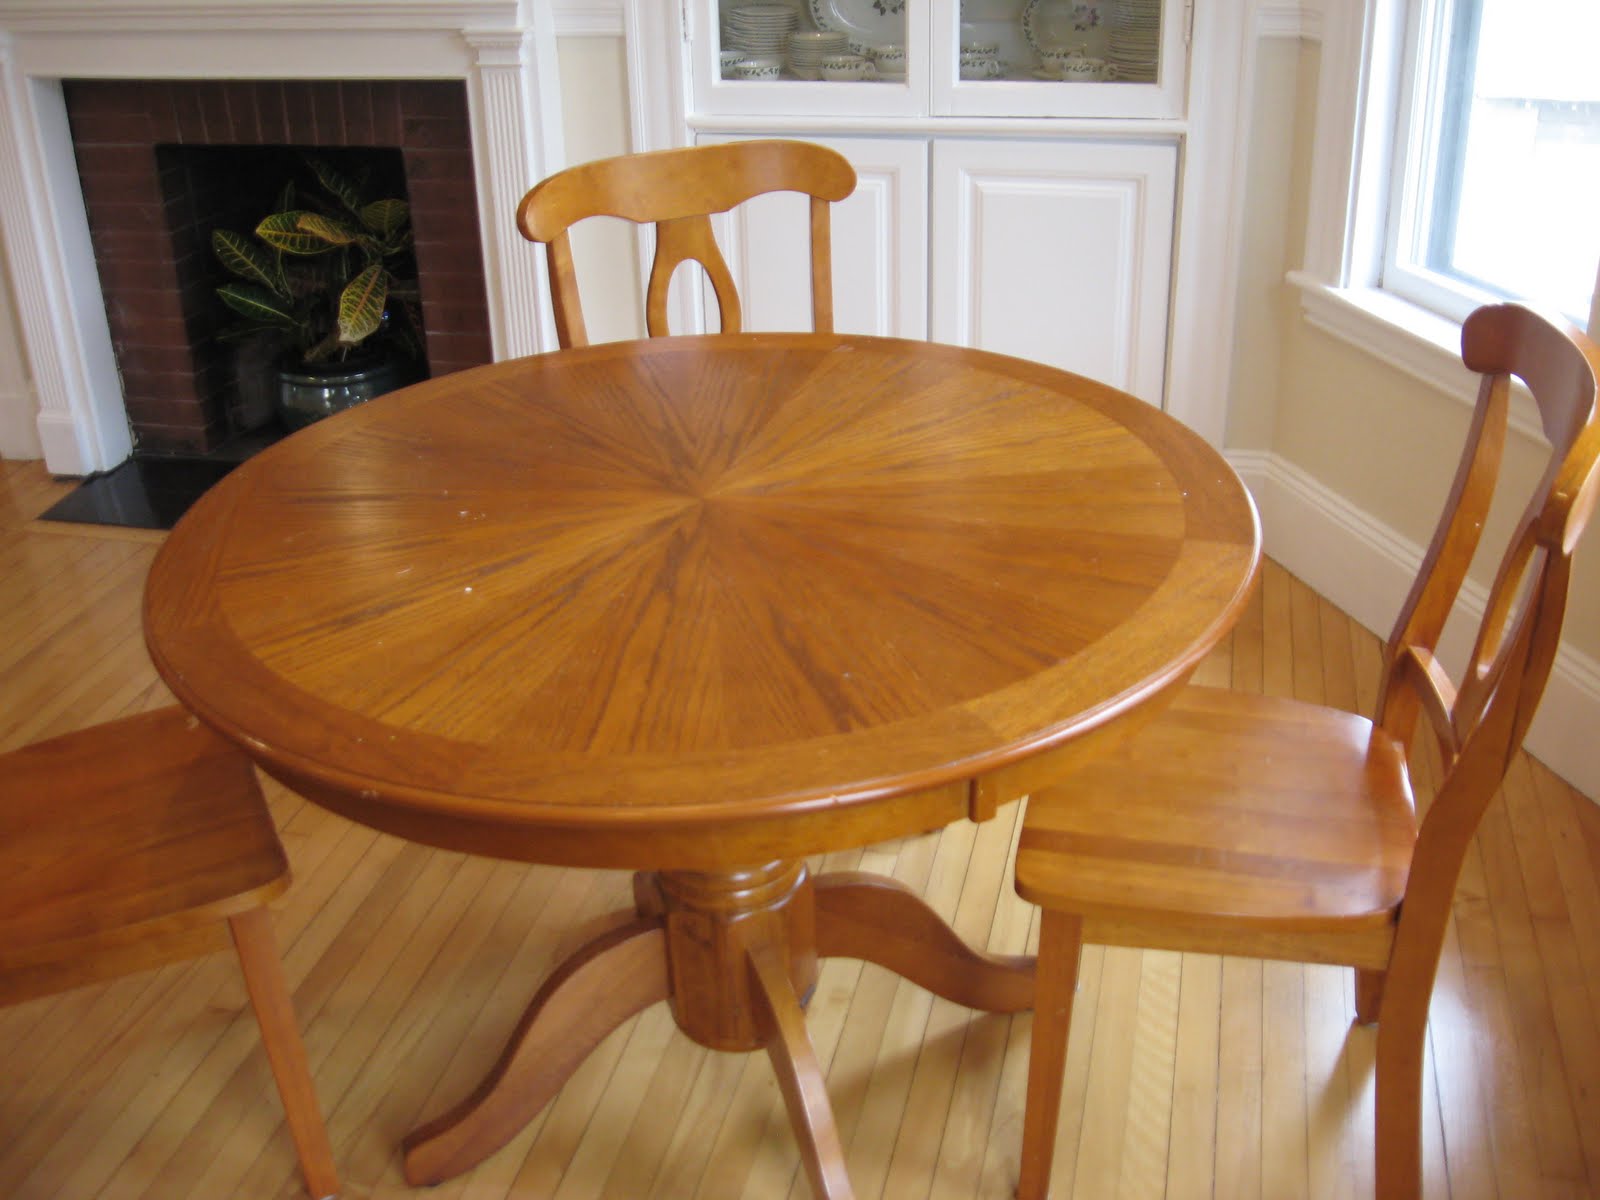
It is solid wood, and it has a good profile, so I knew it could be salvaged.
Step 1: Sand it. I used a fine (220 grit) sandpaper to remove the finish from the table. Although it was cheap, the table and chairs were actually solid wood, so I wasn't worried about oversanding.
 Step 2: Wipe down furniture with damp cloth.
Step 3: Paint it.
I used Valspar Latex Enamel. It has a satin sheen (easy for spill clean up) and the enamel is more durable than regular latex paint. It is a great alternative to spray paint which is the paint type I normally use to paint furniture. However, in this case I wanted to paint inside the house, and I had a large surface area which would have required many many cans of spray paint. Because the table was previously stained, I didn't need to use a primer.
 There is a great step by step tutorial on the Valspar wesbsite on how to refinish wood furniture.
The original finish was a reddish oak color. I chose Java Brown as the new table color. This was to correspond to my dark furniture in my living room and my dark brown wrought iron side table in the dining room. Here is the difference between the old and new color:

After two coats and complete drying, the table was dark brown. Beautiful:

Now to go on and use my "new" table to stage the rest of the dining room:

You can see I placed a large mirror, some artwork and a vase on the mantle to draw focus to the fireplace. I moved the plate collage to the left hand wall and added a lamp to that table to balance the light from the large bay windows on the left.

Once again however, my personal pictures don't do it justice. The professional photographs give you a much better sense of the room:

I chose dark frames for the mirror and artwork to match with the tables and the orangey-brown vase picks up the warm tones from the floor and fireplace brick.

Normally, when staging a dining room I would have set the table with two place settings, however in this case we are still using this space to eat our meals. Removing and replacing the place settings would be a huge hassle (espeically with two kids under five) so a simple green plant in a basket complete the table.

The left hand wall:

I chose a bowl of fresh fruit and a vase of dried eucalyptus in reds, browns and greens on the side table to stay in the same color family. The dark wrought iron furniture has a glass top which keeps it from feeling too heavy against the light walls and white chair rail and molding.
The window wall:

Two small framed prints, once again in dark frames complete the room. That wall wasn't left blank so that the heavy elements (art, mirror and fireplace) didn't make the room feel unbalanced.
So there you have it. The MoneyPit dining room. Doesn't even look like the same place.


Okay, I feel much better now. I thought you guys lived how I saw the pics and I was in awe. I wish I could stage and live like the final pictures.
ReplyDeleteHi, amazing transformation! I love the light airy feel. Could I ask what paint color you used on your walls?
ReplyDelete