

It is time to head back to school, and with the school days always come kid-related stains. Kids have all sorts of adventures while at school, and often they run into messes. I can’t even count the number of days I have picked up my children only to be faced with marker-streaked shirts, grass stained knees or juice splotched shirts. It definitely makes for more difficult laundry days.
A disadvantage of stain treatment on kids clothes is that you can't typically treat the stain right after it happens, which makes them much more difficult to remove. Since your kids will usually wear their soiled clothes though the entire school day, stains are likely to dry and possibly set in. That is why knowing the right way to treat these stains safely and effectively once you do get the chance is so crucial.
It is important to get your children’s clothes clean and get the stains out, but it is just as important to make sure you are using the right techniques so you don’t damage the garments or put your children at risk.
Laundry room safety should always be a priority and that includes how you use and store your bleach, detergent, stain removers, and concentrated liquid laundry packets.

Today I’m partnering with
American Cleaning Institute and its
PACKETS UP! campaign to tackle five of the most common types of stains you will find when kids come home from school:
Evidence of their playground adventures;
Dirt, Mud and Grass StainsFallout from their classroom projects;
Markers, Ink and Paint StainsRemnants of school lunch:
Fruit Juice and Soft Drink Stains
How to Remove 5 Common Stains from Kids’ Clothing
Remember: Always read care instructions and check color fastness before trying any of these methods to protect delicate fabrics.
All these stain treatments should be performed by adults. Children should never handle or use any type of detergents and stain treatments. Always store laundry detergents, concentrated liquid laundry packets, stain removers, bleach, and soaps up high and out of reach of children. It is best to secure them in upper cabinets, out of sight of children. Always keep detergents, stain removers, and concentrated laundry packets in their original containers with the lids closed and labels in tact. Do not allow children access to standing water while clothes are soaking or laundering.
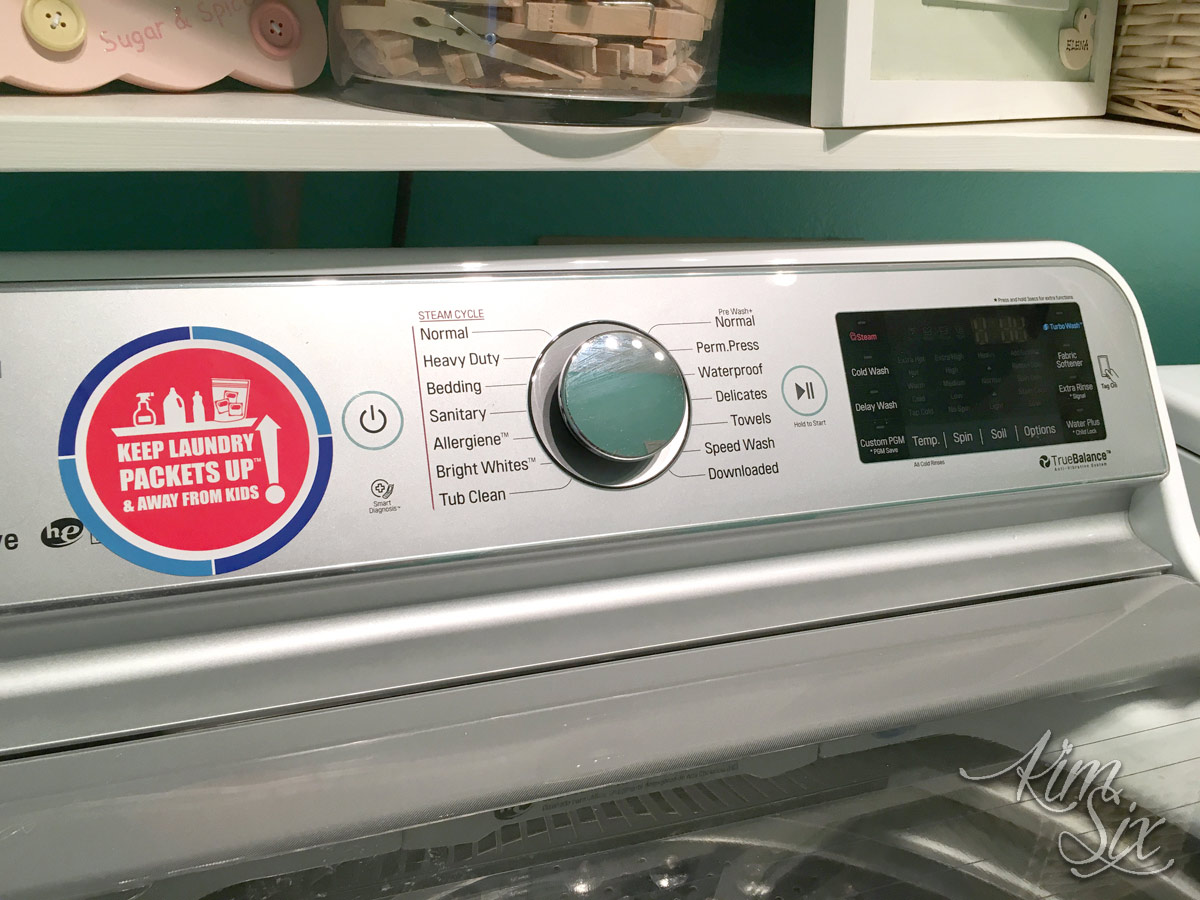
I even keep a reminder of proper storage on my washing machine – you can get yours for free at www.packetsup.com.
 Mud/Dirt:
Allow mud to dry and remove as much material as you can by bushing fabric with a brush or your fingers. Apply a small amount of detergent and water and rub fabric together in order to create suds. Rinse and then apply a 50% vinegar solution (1 part vinegar, 1 part water) and wash normally, typically warm or hot water will work best. For tough stains, you can use chlorine or oxygen bleach in place of the vinegar if it is safe for fabric.
Soft Drinks/Juices:Rinse or soak the garment in cool water to remove as much of the stain as possible. Treat with small amount of detergent or stain fighter and rub fabric together. Allow to sit for 10-20 minutes and wash in hottest water possible. For tough stains, add chlorine or oxygen bleach to the wash if it is safe for fabric.
 Markers/Ink:
Washable markers are often used in schools, and luckily these will wash out without stain treatment, just launder as normal. (To test if marker stain is washable, dampen a cotton swab with water and rub the stain. Washable marker will bleed onto the swab almost immediately.)
Permanent markers and ballpoint pen ink are more difficult to remove. You need to solubilize the ink, blotting it with a paper towel to remove the stain. Place the garment on a few layers of paper towel. Add rubbing alcohol, hairspray, orange oil or other cleaning fluids to the stain drop wise and then blot with additional layers of paper towel. You should see the stain transfer to the towels. Move to a clean area and repeat the process until all the ink has been removed.
Once the visible stain is gone, treat with a small amount of detergent and launder garment as normal to remove the alcohol.
Grass:Apply stain treater directly to stain and rub fabric together. Wash with regular laundry. If stain persists treat with diluted white vinegar (1 part vinegar one part water)to remove remaining color and wash again.
 Paint:
Most paints used in school are water based. Children are unlikely to use oil based paints in the classroom, so here will only be discussing latex paints. Many finger paints and school paints are considered “washable” but still require pre-treatment with either detergent or a stain treater followed by a wash in the hottest water possible. ONLY USE HOT WATER IF YOU KNOW THE PAINT IS WASHABLE otherwise you are more likely to set the stain. If you are unsure, use cold water instead. If discoloration remains, soaking in color-safe, chlorine bleach or oxygen bleach and re-washing may be required.
Tempera and latex pain can be extremely difficult to remove once they have dried. The first thing you want to do is remove as much of the paint as possible scraping it off with either a stiff wire brush, spoon, or butter knife, taking care not to damage the fabric. You can rinse the fabric under cold water to help with this removal process (never use hot water, it can set the stain).
Next, create a soaking solution (1-2 Tbsp of detergent or dish soap in a gallon of cold water) and add garment, making sure to keep stain completely submerged. Allow to soak for 30-60 minutes in order to soften the paint. After soaking, use a sponge or brush to work a little additional detergent or stain treater into the stain and rub the fabric between your fingers to physically disrupt the stain. Rinse and repeat this process until the stain has been removed. Wash in cold water.
The American Cleaning Institute actually has a
comprehensive stain cleaning chart for any other stains I didn’t cover here (red wine anyone?).
ACI also has many resources about safely using and storing concentrated laundry packets, and you can sign up to receive a
free laundry room PACKETS UP! cling decal (like the one I have below) to remind you to keep them up and away from kids.
Keep your kids safe while getting and keeping their clothes stain free, and have a wonderful school year!

 who aren't tall enough for the 42 inch height requirement. Great info on the attractions and rides they CAN ride and the secrets behind the park to be on the lookout for.") This summer we took a fabulous trip down to Universal Orlando Resort, which included an excursion to the recently opened Volcano Bay Water Park. The park was amazing and my older kids had so much fun. The water coasters and slides were thrilling and they couldn't ride them enough. But those rides were too big for my preschooler.
This summer we took a fabulous trip down to Universal Orlando Resort, which included an excursion to the recently opened Volcano Bay Water Park. The park was amazing and my older kids had so much fun. The water coasters and slides were thrilling and they couldn't ride them enough. But those rides were too big for my preschooler.
 Fortunately, when we actually visited, we found out there was PLENTY for a preschooler to do, and he was easily entertained the entire day. So for anyone traveling with littles and are curious about how exactly to plan for a trip to Volcano Bay, I thought I would share our experiences.


 Are you planning on adding some curb appeal to your home? Perhaps you want to expand your patio for more space, or even add some fencing or outside lighting. There are all sorts of ways to make your home look great, but before you start any project you should see if the project requires a permit.


 cut out an oversized silhouette with a jig saw. Attach the boards to a backer board and you have instant artwork! Beautiful!")
 cut out an oversized silhouette with a jig saw. Attach the boards to a backer board and you have instant artwork! Beautiful!") I’m back with another fall sign project made of “reclaimed” lumber. I will admit I’m using the term ‘reclaimed’ loosely, because this project could be made from old barn wood, or pallet wood or any old lumber, but mine is actually made from some fence boards I got in the cull lumber section of the hardware store.
I’m back with another fall sign project made of “reclaimed” lumber. I will admit I’m using the term ‘reclaimed’ loosely, because this project could be made from old barn wood, or pallet wood or any old lumber, but mine is actually made from some fence boards I got in the cull lumber section of the hardware store.

